Nathan’s 1st Birthday Celebration
It’s taken me awhile to gather my pictures from Nathan’s 1st birthday celebration and share them with you. In doing so, I realized there are several aspects of the party and food and books to tell you about so the sharing will take place over a couple days this week with different posts. Today, I’m going to focus on the set-up and decorations.
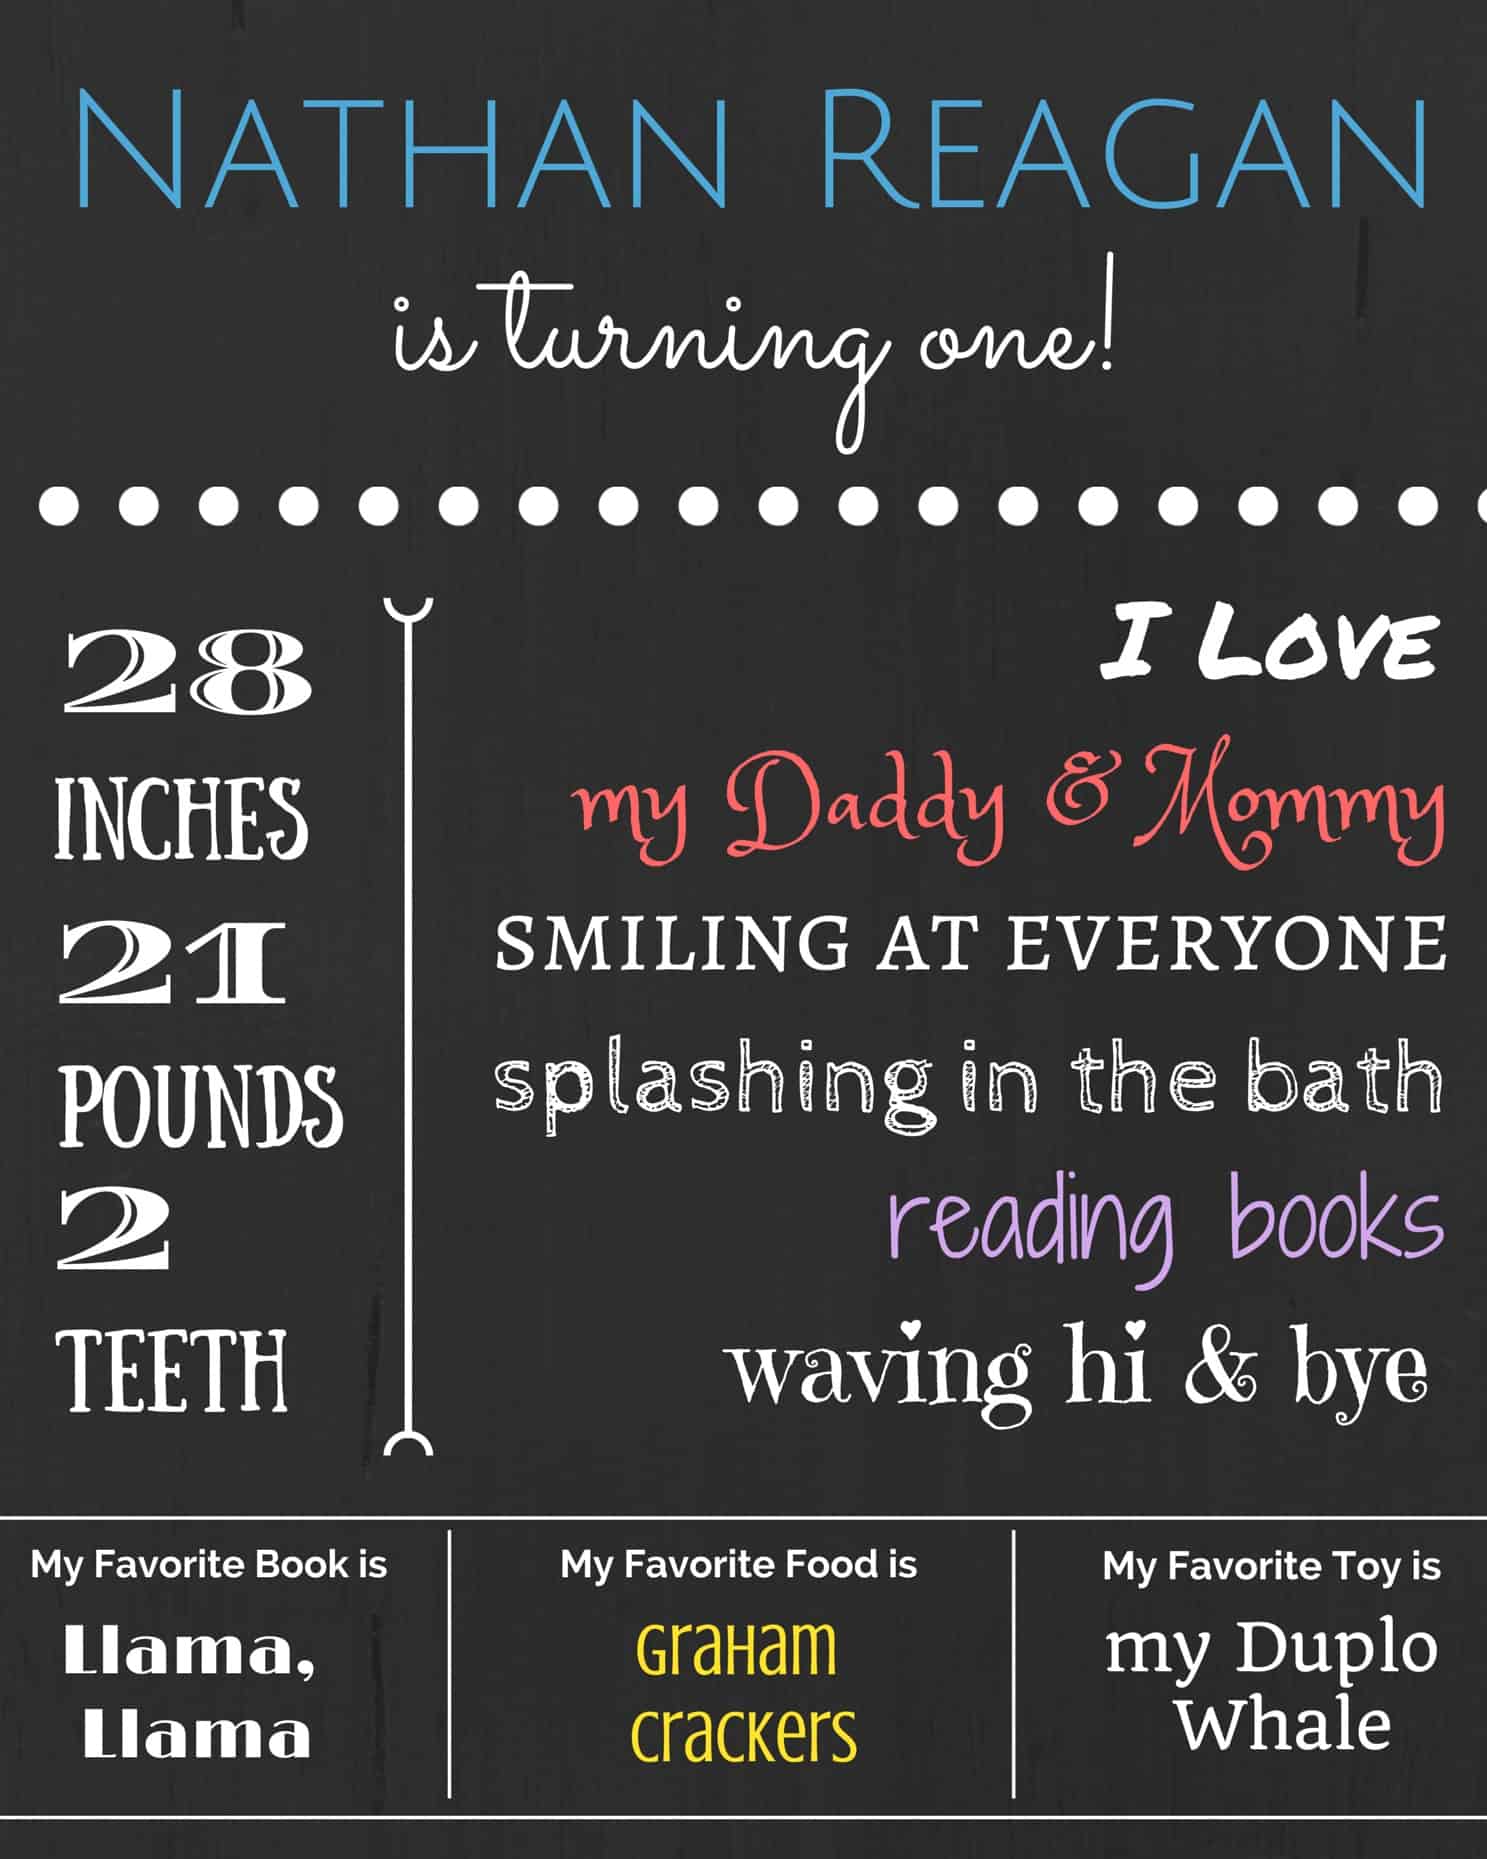
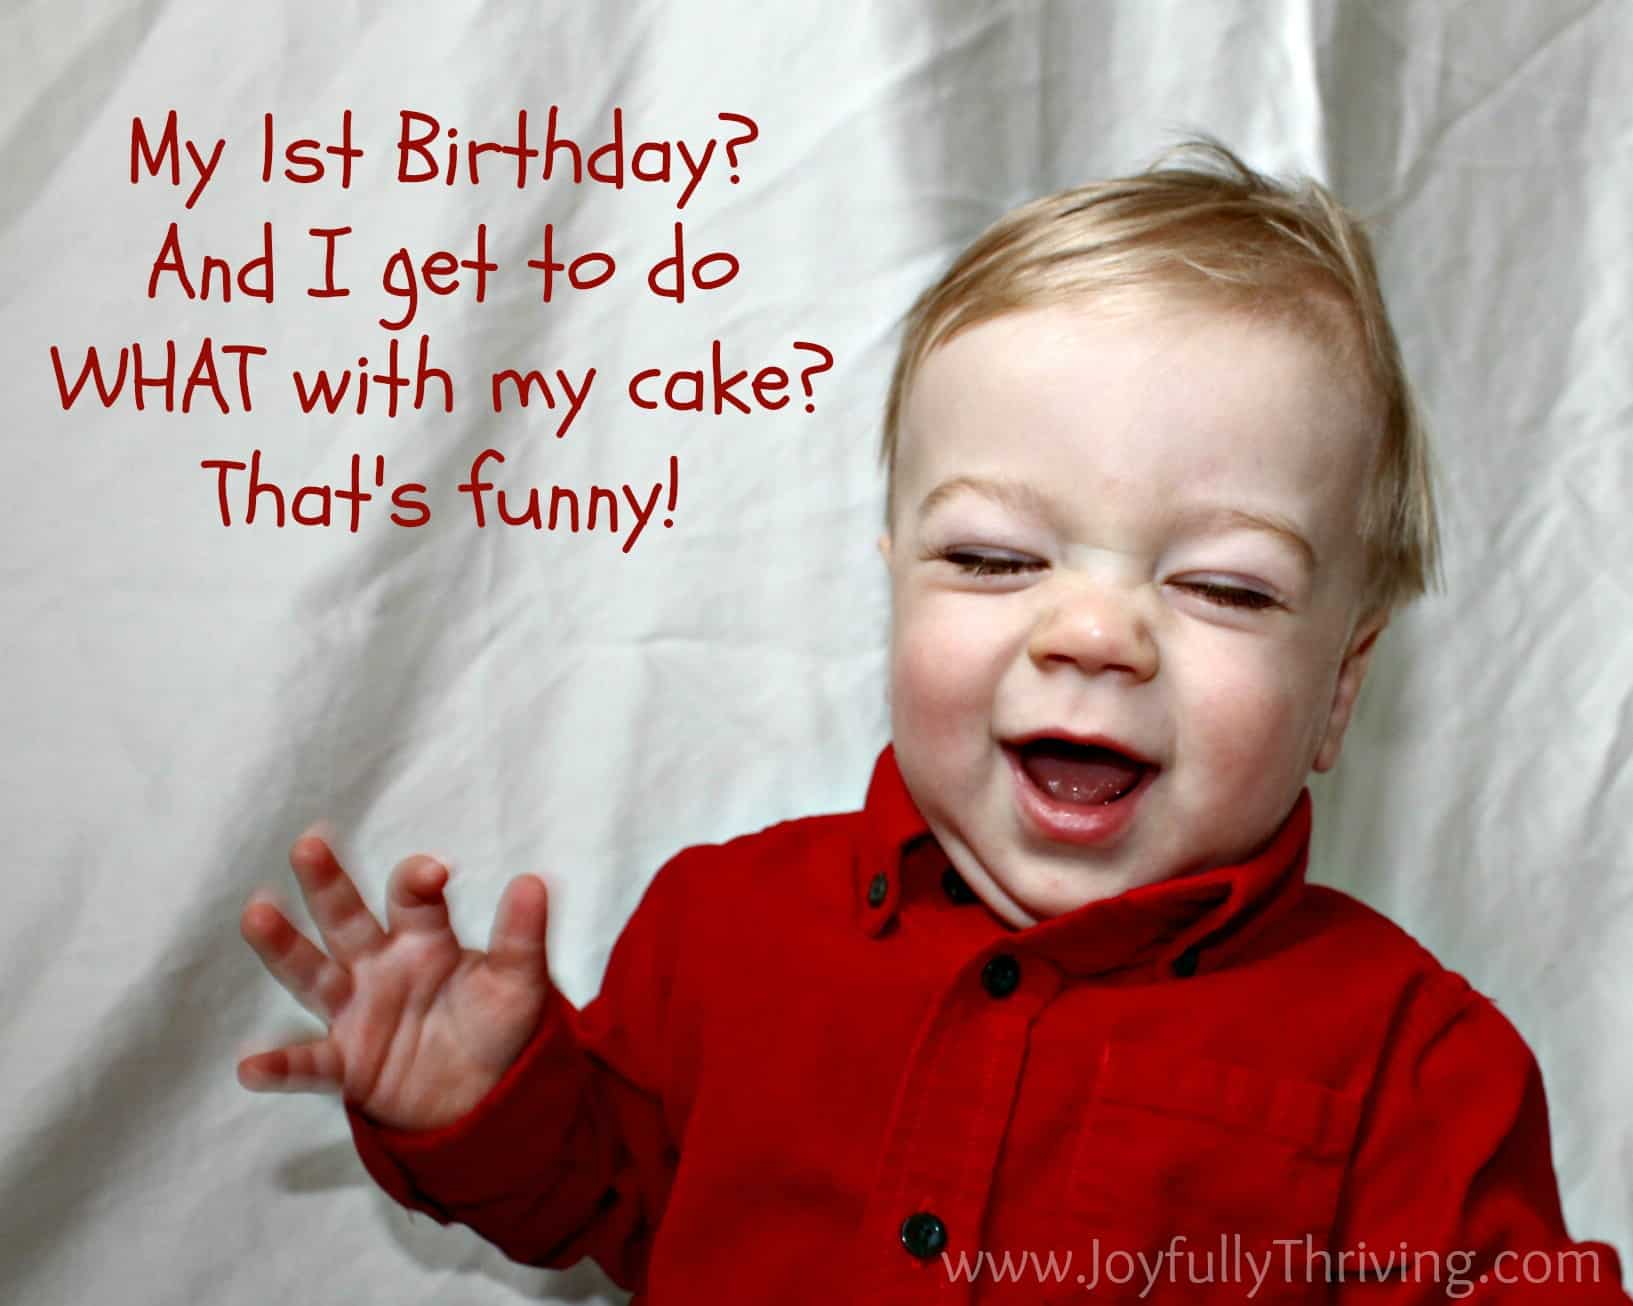
When I started gathering ideas for Nathan’s party, one of the first ideas I stumbled upon were the infographics. I loved the idea and set to work creating my own on Canva. It wasn’t that hard to do and I love the way it turned out! I printed them as 4 by 6 pictures and mailed them as his party invitation. The invitation included our address and an RSVP portion at the bottom, which I cropped off later so I could display a larger 8×10 print at his party. The only thing that changed was he did get his third tooth before his birthday! Otherwise, everything else stayed the same.
I wanted to display the photo books that I had created during Nathan’s first year. We bought a sturdy 6 bin bookcase from Target to hold (and hide) Nathan’s toys in our family room. The top was the perfect place to display the Shutterfly books I’ve created. The flowers were given to me after I directed our school musical, “Cool in the Furnace” the night before and were the perfect touch.
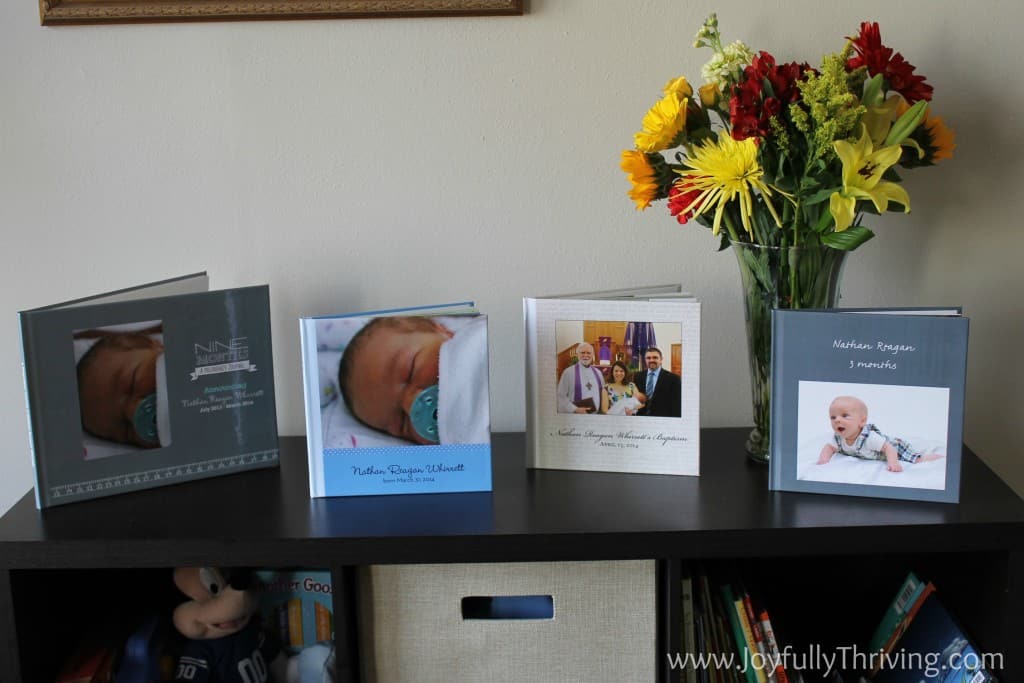
I use Shutterfly to scrapbook now and I am always pleased with how these books turn out! I had a 8×11 book that I created about my pregnancy with Nathan that includes all my weekly belly pictures. I used a special Shutterfly theme and updated it regularly throughout my pregnancy. I was very happy with the way it turned out!
I also created 8×8 books of his birth and baptism. We took Nathan’s 3 month pictures at Portrait Innovations and got the cd of his pictures. I took the cd and put all of the pictures in another 8×8 book so we had them bound together. I didn’t put any words in that book – just pictures – but I’m glad I did that. All of these 8×8 books were free, thanks to the wonderful free product coupons. Now I just have to finish his 12 month book!
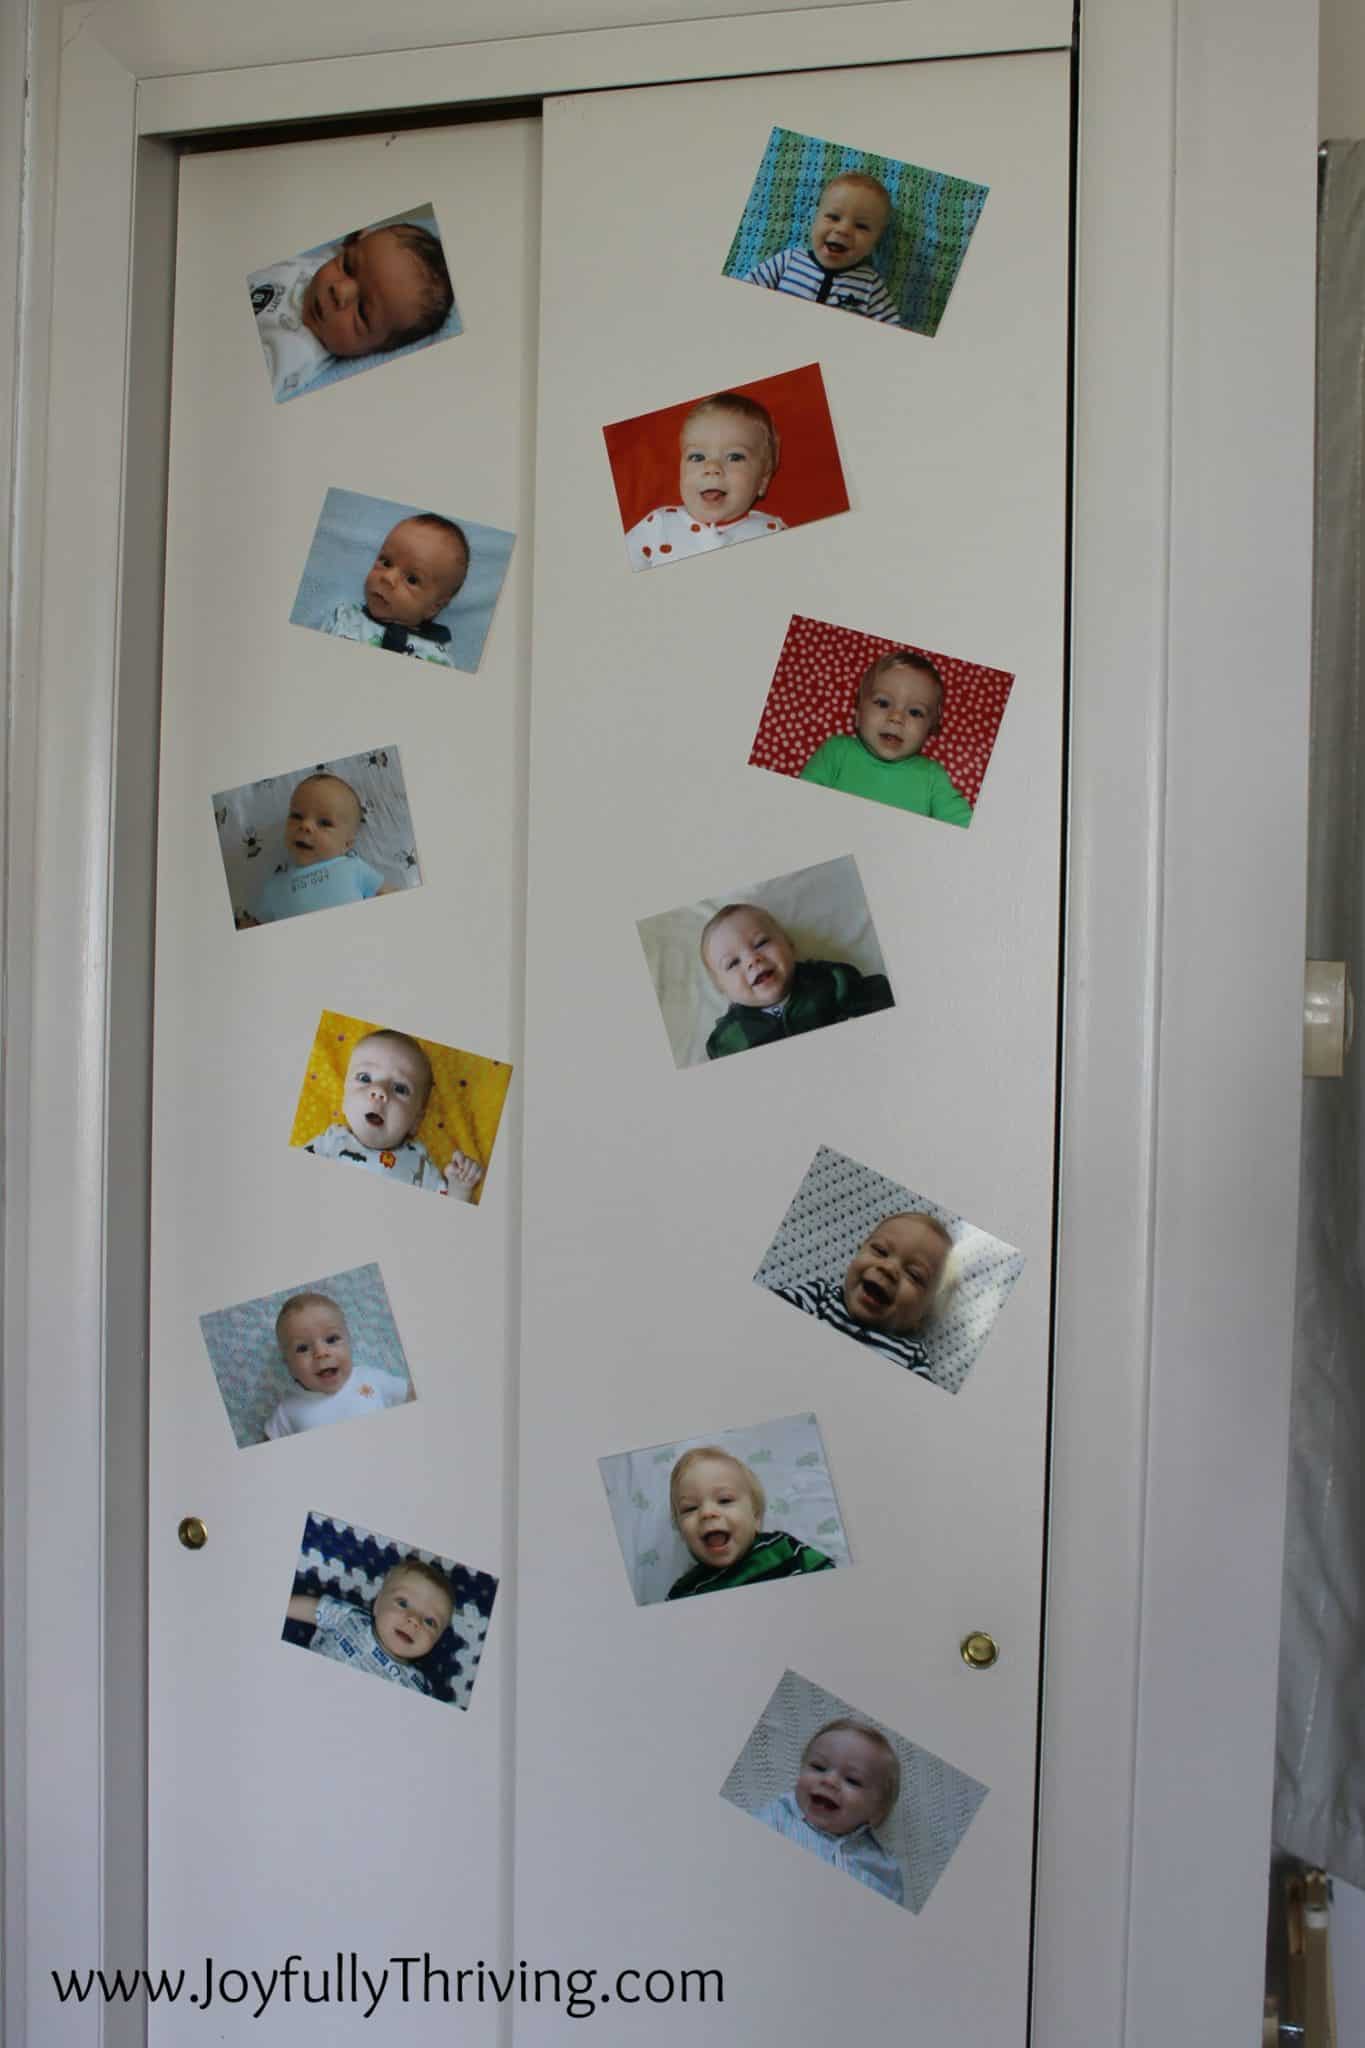
Nathan’s 12 month book features the close-up monthly pictures I took of him for the past 12 months. I took a picture of him each month – on a different blanket we’d been given. The pictures got a bit more challenging as he grew older when he didn’t want to lay on a blanket. Still, I’m happy I did this! I wanted to display those and had planned on putting a garland together. However, other preparations took precedent and it was 15 minutes before the party started when I realized we hadn’t put the pictures up yet! I gave my sister some painter’s tape and she arranged them in month order on our coat closet door so everyone could see them as they walked in. It was simple and served the purpose. Isn’t it amazing how much babies change in 12 months?
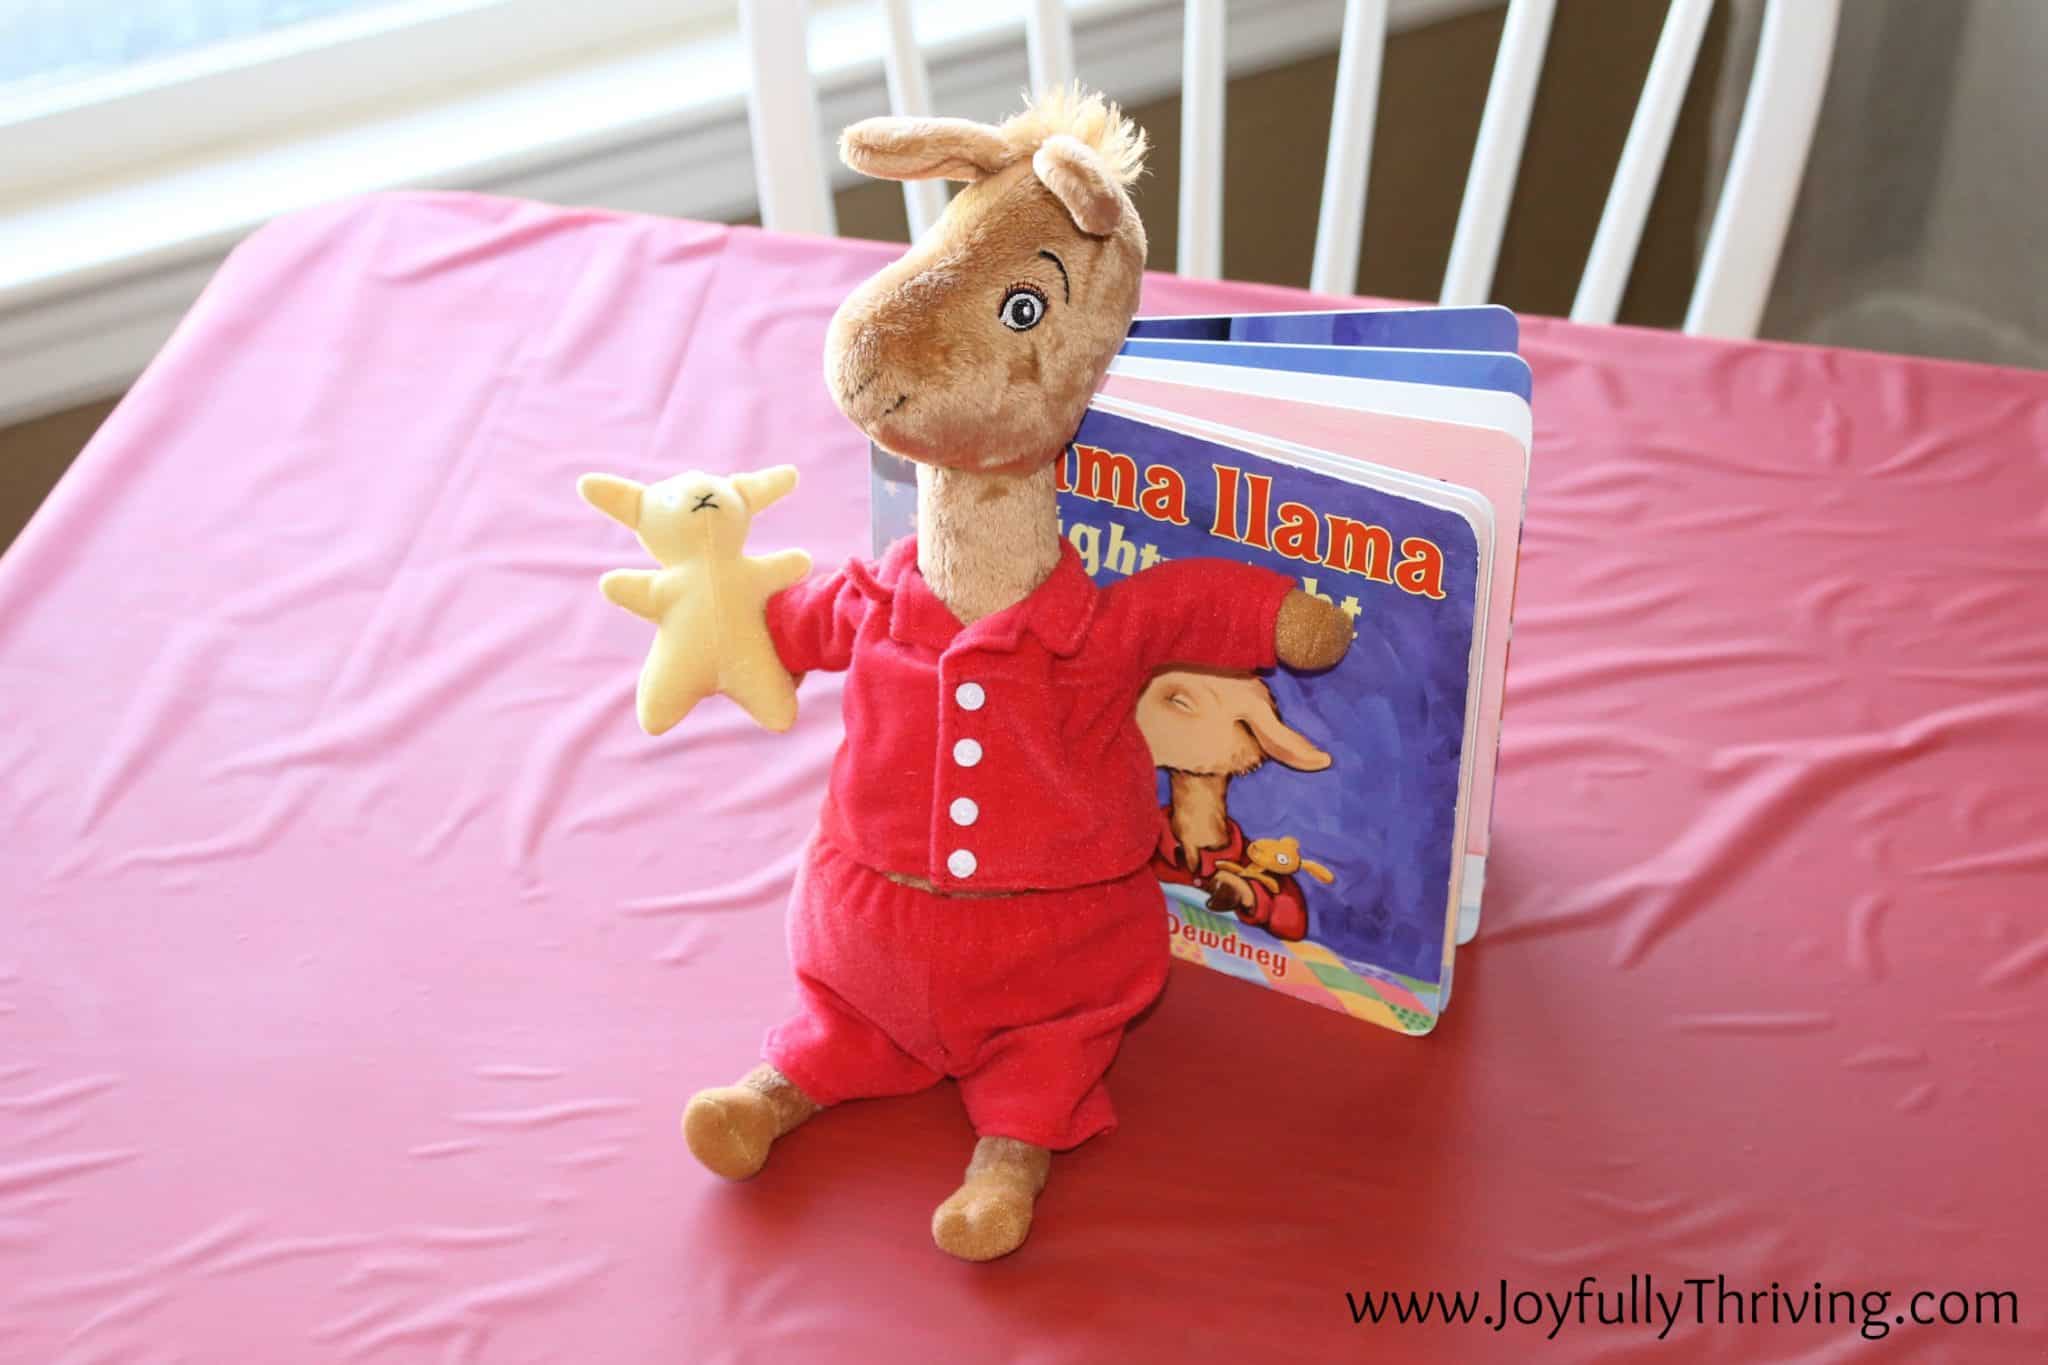
We set up three card tables in the dining room and covered them with plastic tablecloths. That made clean-up so easy! We also had our big dining room table set for eating. Each card table got a book and coordinating stuffed animal as it’s centerpiece. These were just a couple of Nathan’s favorite books. Since I was (am) an early childhood teacher, I had matching stuffed animals. I had the Clifford set (from Kohls) from before I began teaching.

The spotted leopard from “Put Me in the Zoo” was a shower gift from Nathan’s Aunt Kara. I already had the book from Kohls.

Finally, the Llama set was from Scholastic, which my husband bought with bonus points. Andy thought Nathan needed a stuffed Llama since he loved the books so much!
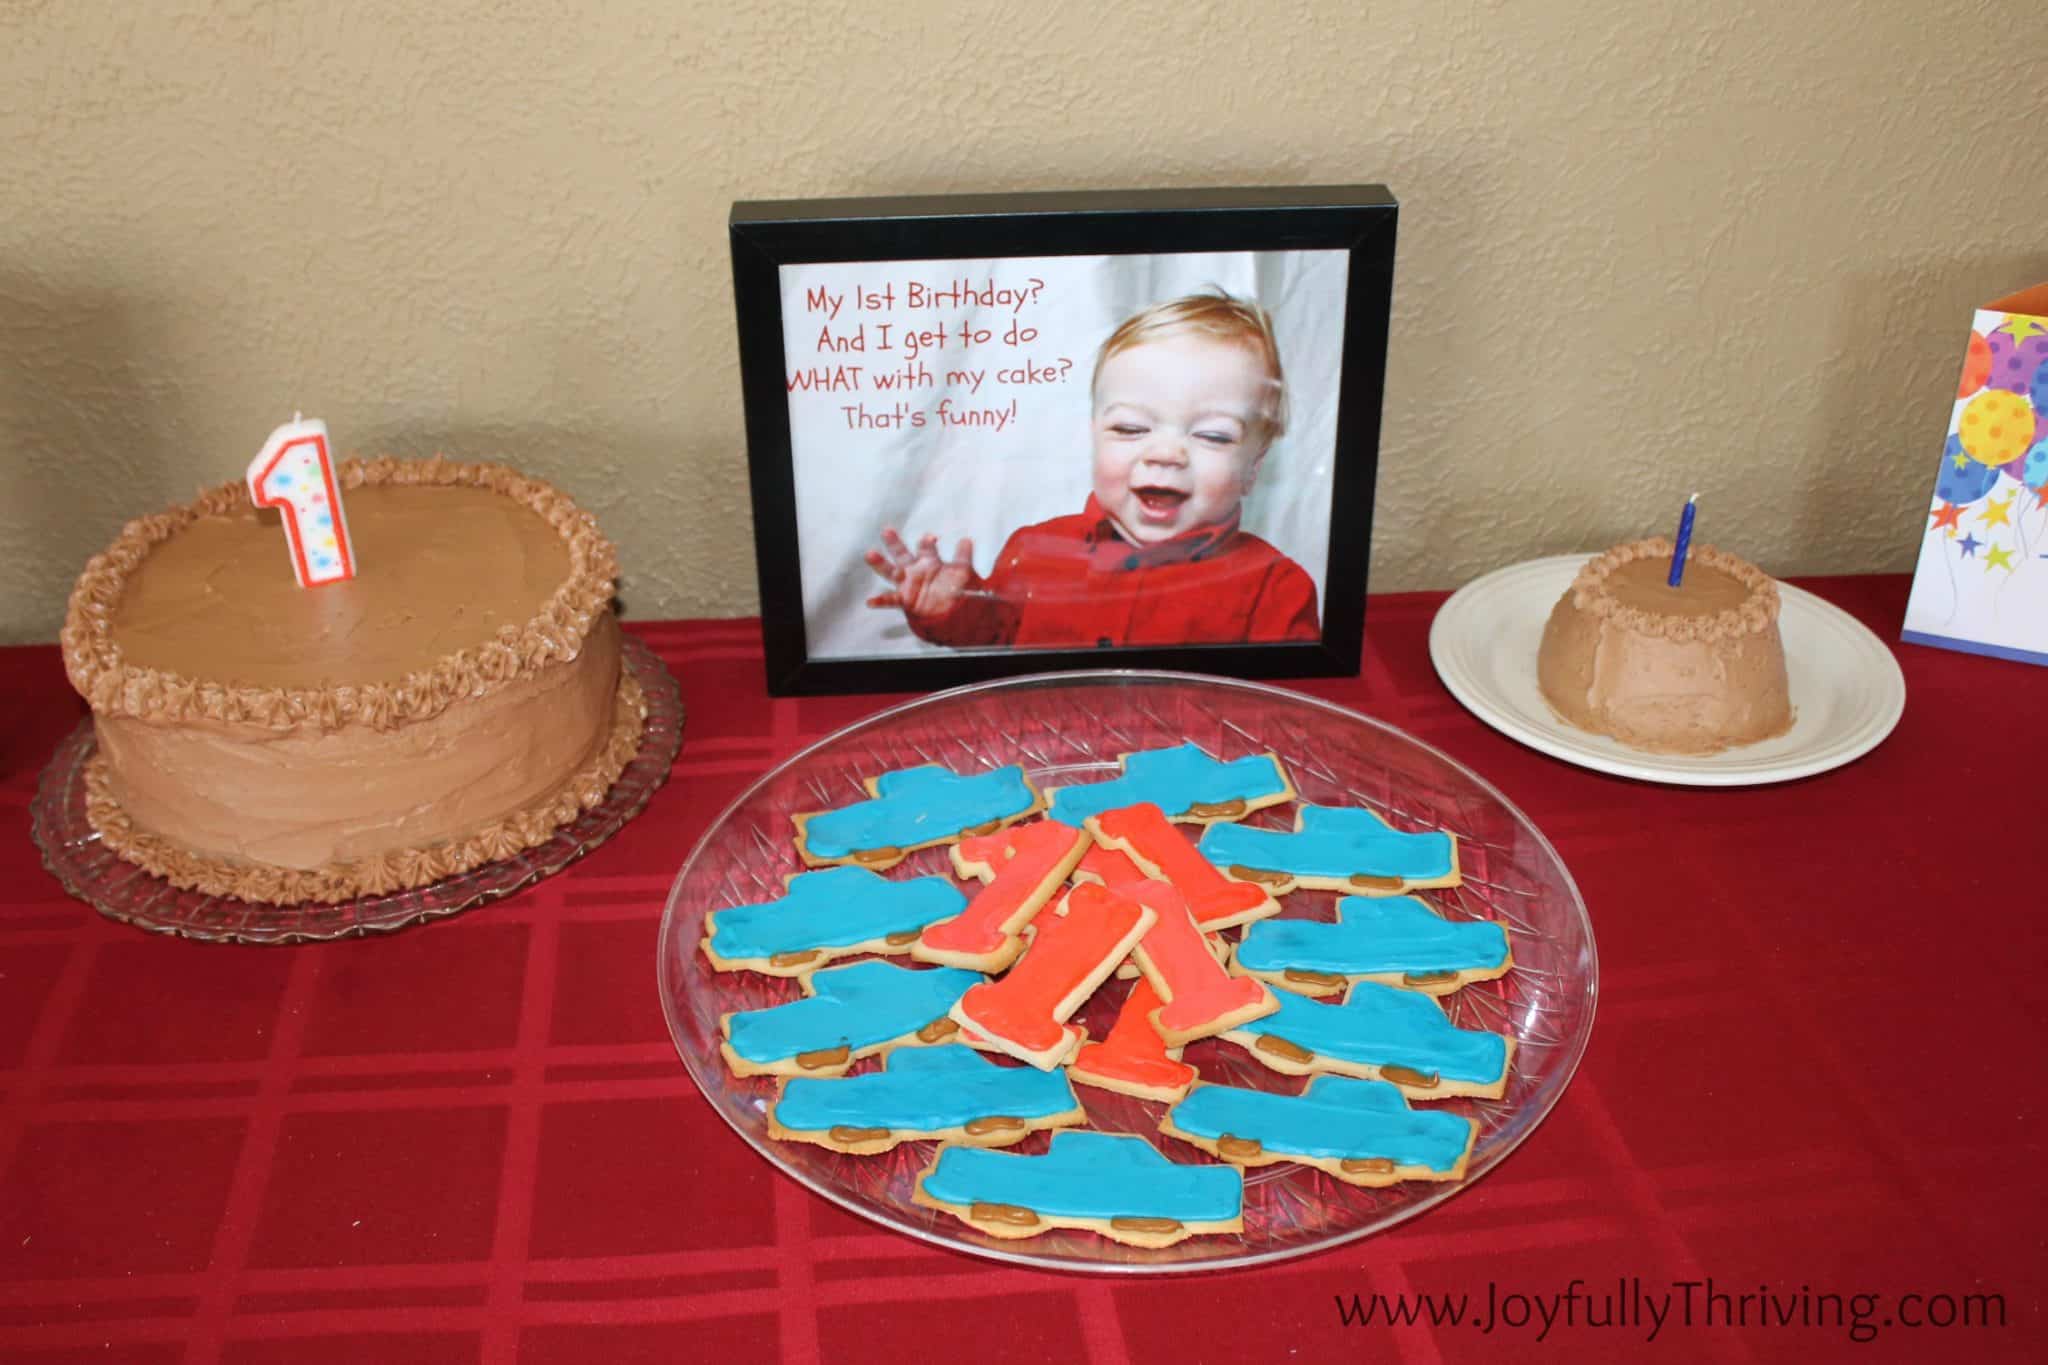
I took this picture from our Valentine’s Day photo shoot and added some text via PicMonkey. It’s a great (free!) photo editing site that I use regularly. I had two free 8×10 prints from Shutterfly so printed this off for the cake table.
For the birthday cake, I used a recipe for a layered cake that I found online at Completely Delicious. The cake was good but nothing that special, in my opinion. However, we did all like the chocolate butter cream frosting and I would make that again. Nathan did too! I made a layered cake for the guests and Nathan got his own little cake. I also made Little Blue Truck cookies and Number 1 cookies. I bought a number set of cookie cutters on Ebay so now I’m set for every year if Nathan wants number cookies! I never did find a truck cookie cutter so I made my own template and cut the cookies out with a knife. More about that with the upcoming party food post!
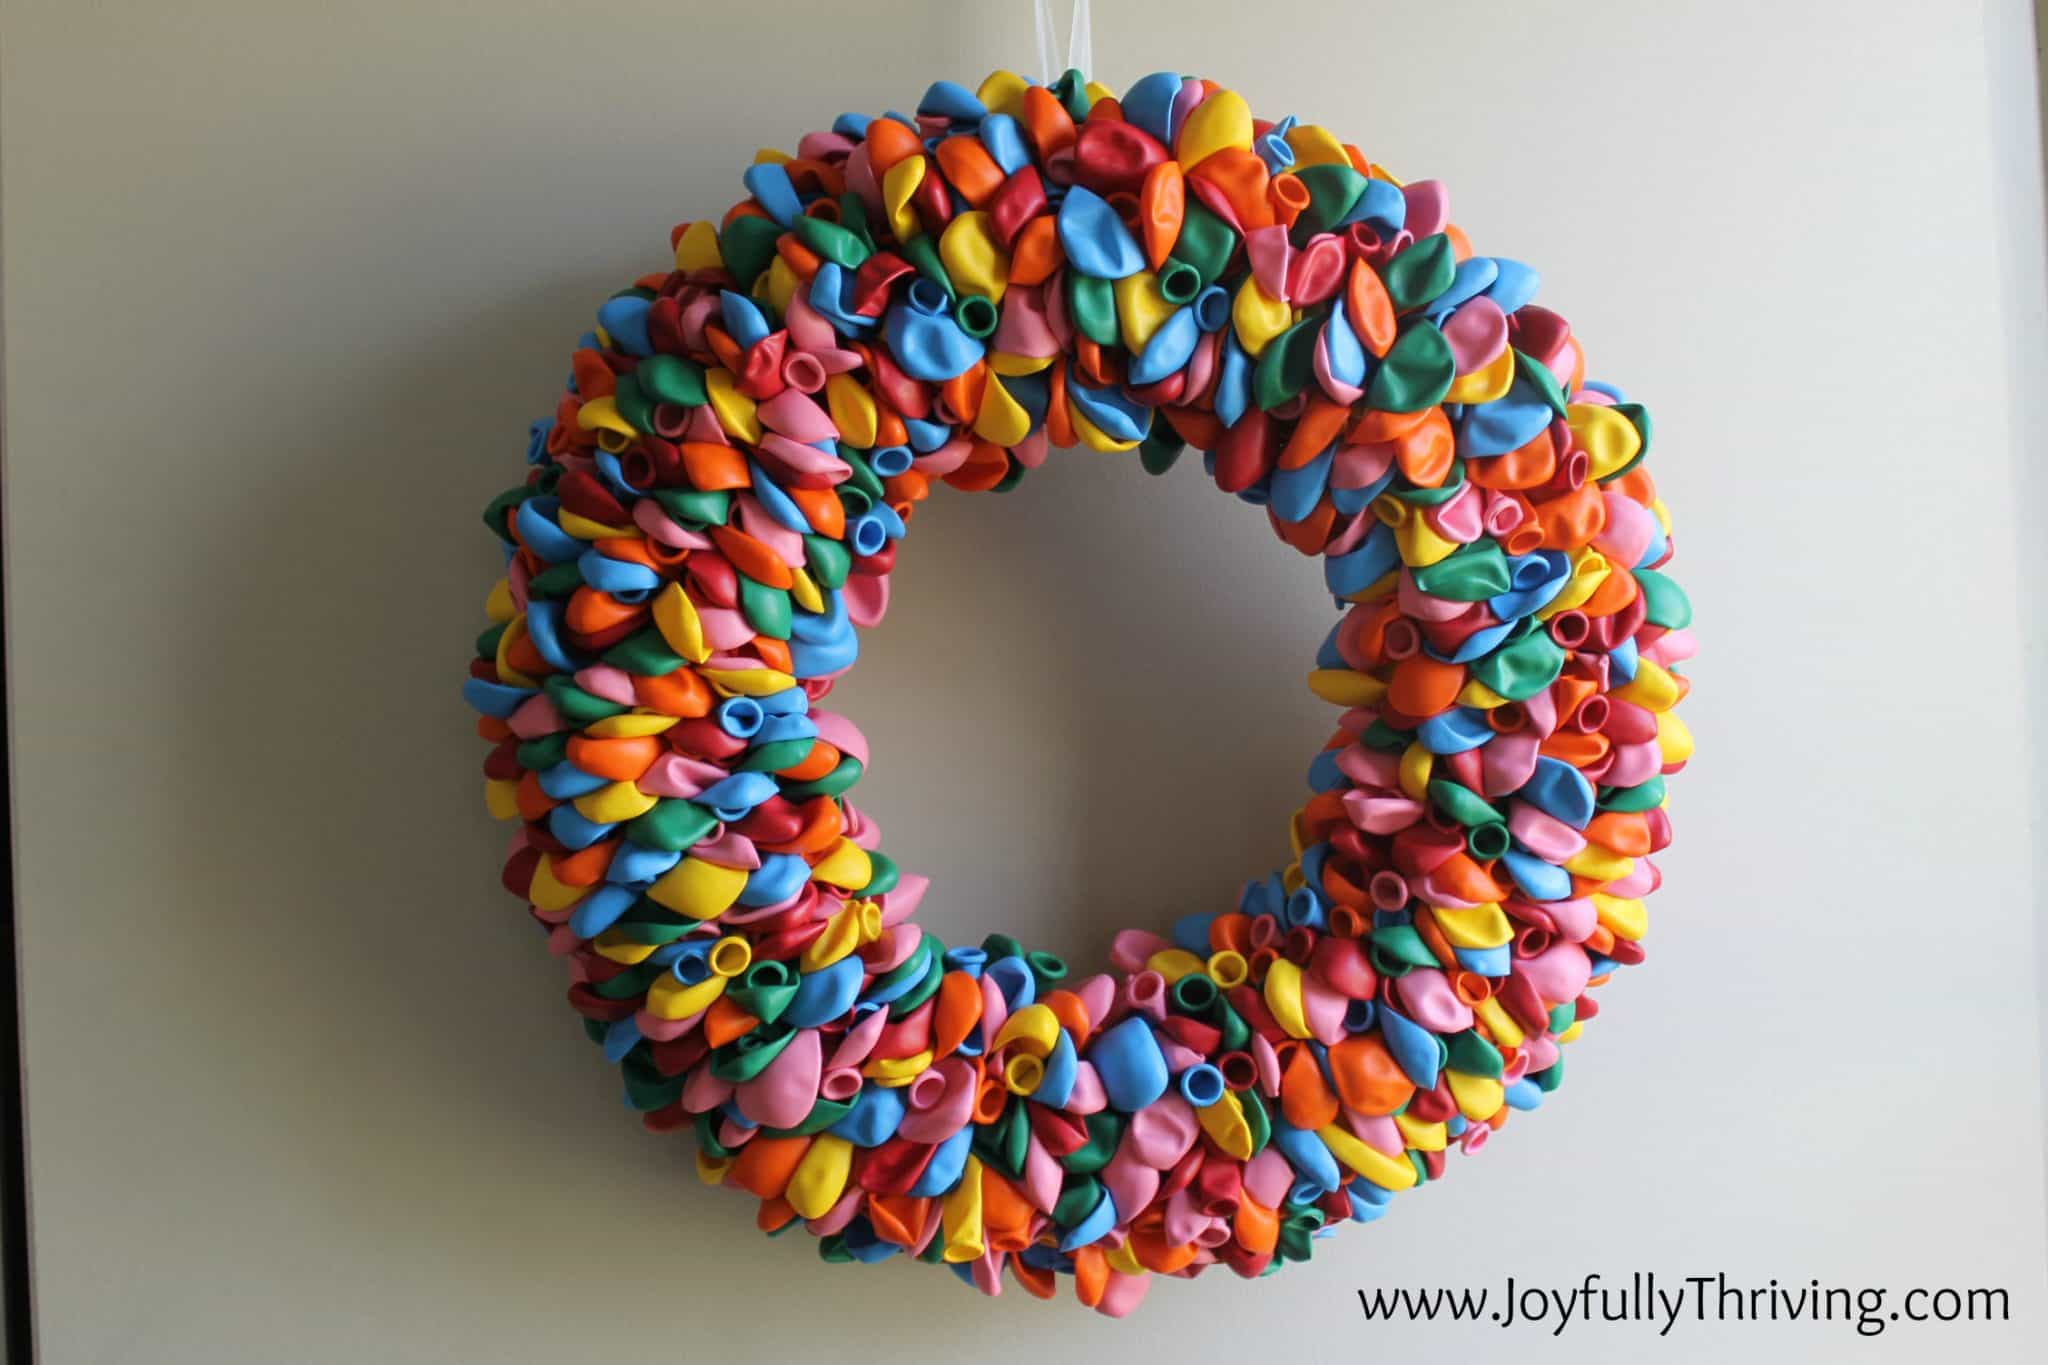
Oh! How could I forget the decor I worked on the most? Again, I had seen the idea on Pinterest and decided to make a festive birthday balloon wreath for our door. The site that shared the idea said it would take 144 balloons. I don’t know about that…because several trips to the store for more balloons and floral pins later, my wreath took 550 balloons! I am happy with how it turned out. It took longer than I expected but we finished it the night before the party. This is now our official family birthday wreath that is coming out anytime there is a birthday!
There you have it. That is how we decorated for Nathan’s first birthday party. There were streamers and balloons from the ceiling that Andy put up, but we didn’t get a good picture of those. Come back tomorrow to see the book themed food I prepared for the party!

that wreath is adorable! And so is your book celebration theme. Happy Birthday to your son–he’s a cutie.
Thank you, Kristia! The wreath took awhile but I do love the way it turned out. And yes, we think Nathan’s a cutie, too! 🙂
550 balloons! That was definitely a labor of love, and it looks great. Using Shutterfly for scrapbooks was such a great idea. I love to scrapbook, but it is hard to spend the time it takes to put it all together. I can’t wait to hear and see how the rest of the party went!
Oh, my goodness. Yes, it was! The floral pins I used were much harder to press in than I anticipated, too. Still, I’m glad it worked out. I love Shutterfly scrapbooks. I work on them in bits and pieces, or a page or two at a time. It’s pretty easy to fill up 20 pages in the 8×8 books. Then, I let it sit there until a free code comes along. We’ll see if I can keep up because I’m already feeling behind! More party details to come tomorrow!
Nathan is such a cutie! The balloon wreath is fabulous…I absolutely love it! Also, I really like your idea of the book and stuffed animal sets on the tables.
Sounds like it was a wonderful party, with lots of thoughtful touches to make it special for Nathan and his guests.
Thanks, Belinda! I love the wreath more than I expected, too. I don’t know how much Nathan will remember but we’ll show him pictures! And the balloon wreath WILL show up every year, so he can remember that! 🙂
Aww, this is so sweet! I love the stuffed animals with the books and the balloon wreath! It looks like a lot of fun!
Thanks, Vera! The book pairs made for simple centerpieces and I loved the look of them, too. I’m glad you liked the balloon wreath, too!
You did a great job! Everything looks wonderful, and I love the balloon wreath. It’s nice when you can find something like that to make and use over again.
Thanks, Julie! After all the time I spent making the wreath, we are definitely using it again! Ha. I love the way it turned out so I’m happy I did it.
How fun and great job Kristen! It looks completely adorable! I love that you do it all on a budget. Your planning and patience shines through! It’s just fabulous! The balloon wreathe looks impressive… 550 balloons?!?! 🙂
I have my eldest daughter graduating GVSU April 25th and we are doing an open house. I LOVE making decorations and seeing how little I can spend, yet how gorgeous we can make it! It’s fun, if you plan ahead and shop carefully. I enlist all the girls to help create and it’s decorated completely before the day of the party. (Minus tables and chairs outside, which were borrowed.) Time/planning makes a world of difference and who doesn’t love the look of fun everywhere?! Everyone has a creative streak! The girls rarely do something the way I envisioned, but it always looks great. Last year I had a high school graduation too, with our school color being green. I stocked up on St. Pat’s leftovers and complimented black and white decor. We even had an amazing photo booth and I spent barely $150, INCLUDING food, for well over 75 people! That was some serious bargains on food (Aldi meat deals from the freezer!)and my Mom helped with some food, beverages and the cake. But, for a graduation open house??? My guests and friends are floored at what we did with some effort, over throwing money at it. My daughter said it surpassed all her expectations and she loved it! She had no idea people would bring her money for her future schooling, so it was beautiful to see in action. Priceless memories!
Thanks, Christina! You are exactly right. Planning and patience and creativity makes it all come together. If you have the time, big parties can be done quite frugally. I’m very impressed on your graduation party! Have fun planning for the next one. It’s just a couple weeks away now! Like you said, creativity and priceless memories.