Freezer Cooking 101 | How to Get Started with Freezer Cooking
It is no secret that I love freezer cooking! Freezer cooking saves me time in the kitchen and money in my grocery budget. On busy nights? I don’t have to worry about what is for dinner because I can pull something from the freezer that I have already made.
Freezer cooking is one of the best time saver’s a busy mom can have. With freezer cooking, there is no more scrambling for dinner ideas at the last minute. With freezer cooking, your time in the kitchen is greatly reduced.
I know the whole idea of freezer cooking can seem overwhelming, especially if you have never attempted it before. Even if you had, there are always ways to streamline the process! This is why I am sharing these easy steps to help you get started freezer cooking.
Everyone fills their freezer in different ways. Feel free to adapt to fit your family, but this is the process I use when I am freezer cooking.
This post may contain affiliate links. As an Amazon Associate, I earn from qualifying purchases. You can read more in my disclosure policy.
1. Clean out your fridge and freezer.
Let’s start with the most obvious and simplest step. Before you start filling your freezer, you want to sort through what is in there and use what you already have. No matter how organized we are, there is always food that gets overlooked in both our fridge and freezer.
Make it a goal for the week before you begin freezer cooking to use up as much of the old freezer food as you can. Eat up those odds and ends. Cook the half used bags of frozen veggies. Serve a night of miscellaneous leftovers. Throw away food that is expired (in your fridge) or past it’s freezer prime.
2. Organize your freezer.
Once you have used up a lot of the food, take a couple minutes to organize your freezer. Group like items together. Designate a specific shelf for meats or freezer meals. Whip down any shelves or loose crumbs. Make sure any meals you already have in the freezer are labeled. It shouldn’t take long but it is better to organize your freezer now – before you fill it.
If you have an upright freezer, it will be easier to organize than a chest freezer but both can and do need to be organized. When our original extra freezer broke, I debated going with a chest freezer but decided to spend a bit more to get an upright freezer just so I could easily see what I have on hand. Don’t get me wrong – an extra freezer is an extra freezer! Still, if you have the choice, I highly recommend an upright freezer.
3. Gather your freezer cooking supplies.
By this step, I mean gathering your freezer supplies, not your baking ingredients. I like to freeze all of my meals in disposable containers and bags. Here are some of the things I use regularly when freezer cooking.
- Foil
- Seran wrap
- Ziploc bags – sandwich, quart, half gallon and gallon
- Disposable metal containers
- Reusable Ziploc plastic containers
- Ball glass canning jars
You can freeze foods in a wide variety of containers, as it meets your needs. Use what you have on hand! I personally only buy one size of Ziploc plastic containers now (this small square container that holds around 3 cups). I like the medium square size as well (holds around 5 cups). It is nice to see things clearly in my fridge and freezer and to have plastic containers that can stack.
That said, most of my freezer meals are frozen flat in Ziploc bags or if I making complete meals, disposable metal containers.
4. Make a list of recipes you want to try.
I like to keep a running list of favorite freezer cooking recipes – as well as ones I want to try – on my Freezer Cooking board on Pinterest. You can see everything I have pinned about Freezer Cooking here.
The best place to start is with recipes you know your family already loves and eats on a regular basis. It does you no good if you fill a freezer with foods your family won’t eat – just because it’s an easy recipe or recommended as a great freezer recipe. Be realistic when freezer cooking. There is no harm in trying a couple new recipes when you are freezer cooking but be sure to make some tried and true recipes too.
Remember, you are not limited to just main dishes either! When I am filling my freezer, I like to fill my freezer with main dishes as well as breakfast items and desserts. Anything you can cook or bake ahead of time for the freezer will save you time down the road.
Then, branch out to other freezer recipes that sound good to you.
Some of our favorite family freezer recipes are:
5. Make a plan.
There are a couple different methods to freezer cooking. I talk about them more on my 4 Rules to Freezer Cooking. There are advantages and disadvantages to both.
One method is to set aside a whole day and prepare meals for your freezer. Some call this Once a Month cooking. I don’t usually have the time to set aside an entire day to freezer cooking. With 3 little children in my home (and being pregnant), it’s much simpler for me to tackle a little bit each day.
The other method is to double your recipes, eating one now and freezing one for later. I call this the Cook Once, Eat Twice method – and it is my favorite method.
I like to stock my freezer this way because my time doesn’t increase this much when I am doubling a meal we will already be eating. It also means I am cooking meals I know my family will like.
I also set aside an hour or two (usually during nap time) to tackle some other freezer tasks – like browning hamburger or making homemade meatballs.
There is no right or wrong way to freezer cook. The best thing to do is to make a plan for everything you are going to cook and when.
6. Start filling your freezer.
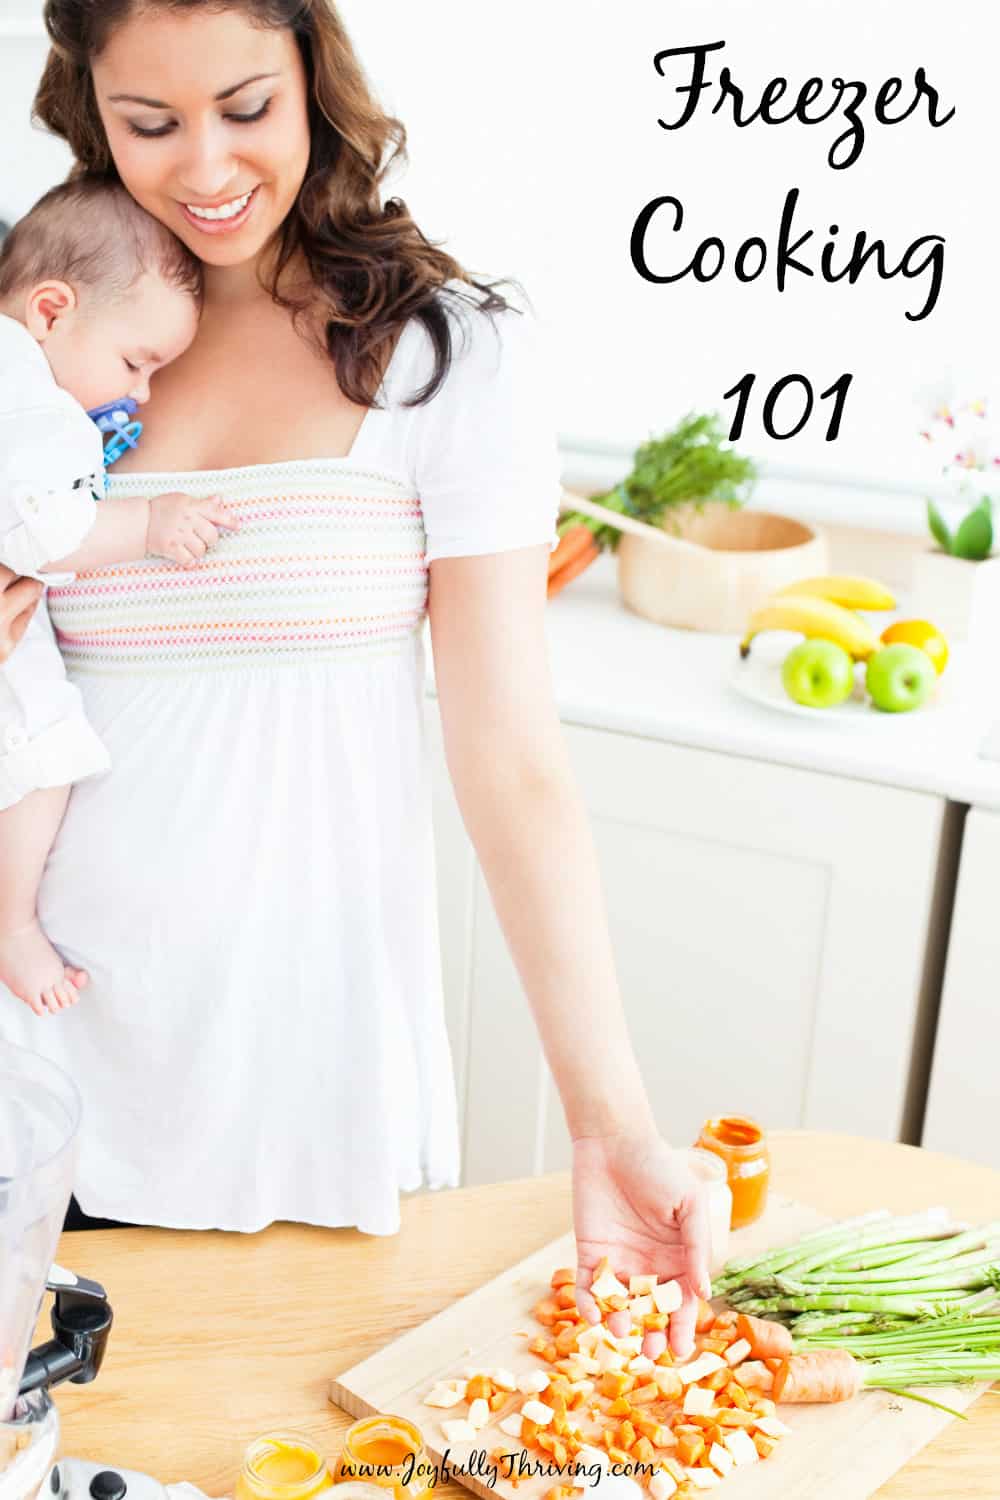
Once you have an organized freezer and a list of recipes to try, it is time to start filling your freezer. This is the part you have been waiting for – I know! Start cooking and filling your freezer.
Start by making a shopping list (based on your plan) and buying any grocery items you need. When I am freezer cooking, I generally spend more on meat in that given month. Still, I do try to watch for sales so I’m not breaking my budget! Then, figure out your meals according to your plan – and start cooking!
I’ll be sharing a bunch of recipes and more freezer cooking resources on the blog this month.
My freezer cooking plans usually include some of the following tasks.
- Cooking a couple batches of homemade meatballs
- Making a bunch of hamburger patties
- Cooking hamburger and dividing it into one pound bags
- Cooking and dicing chicken
- Baking muffins and breads for the freezer
- Baking cookies for school lunches
As I prepare for our 4th baby (due next month), I am planning to do all of the above tasks, plus a couple more things. My specific plan is still coming, as we eat out of our freezer this week and get ready to restock!
Freezer Cooking Action Steps:
If you are tackling freezer cooking during a month long challenge, I suggest dividing your time as follows. Of course, freezer cooking works in so many ways so you can certainly adapt this schedule to one that works for you!
Week 1 – Clean out your freezer and start researching freezer cooking recipes.
Week 2 – Choose your recipes and shop for ingredients and supplies.
Week 3 – Start filling your freezer by doubling recipes. Tackle one or two recipes a day. Add simple freezer tasks (like cooking ground beef) as you have time and energy.
Week 4 – Continue cooking and freezing meals. Enjoy a full freezer!
Are you ready to get started freezer cooking? Let’s do it – and have fun filling our freezers together!
