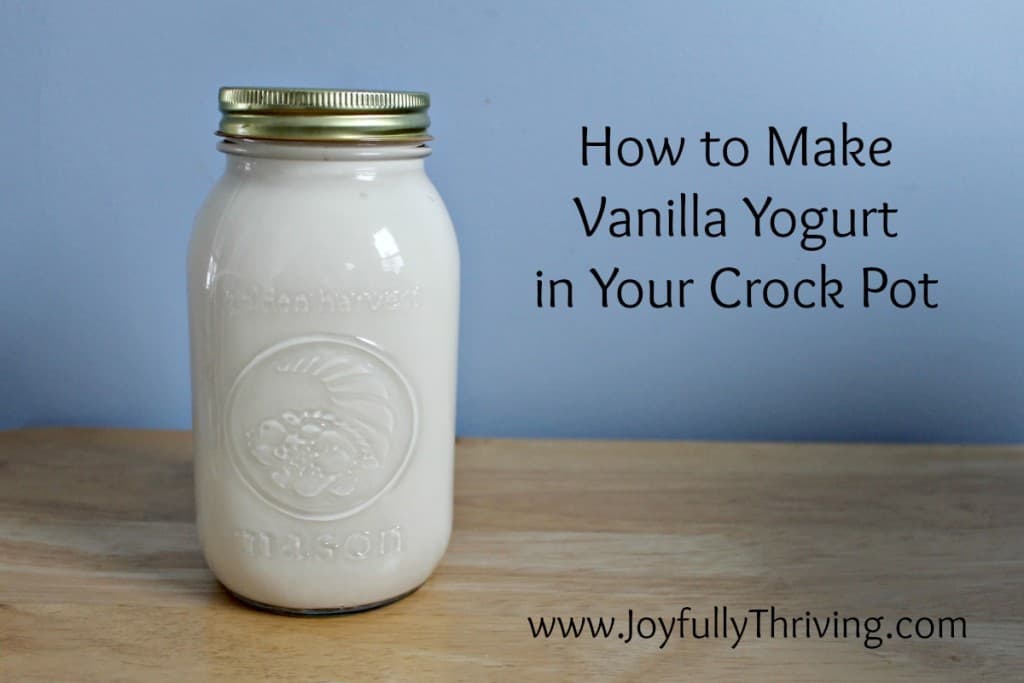
How to Make Vanilla Yogurt in a Crock Pot
Here is something I never imagined myself doing. I am now making my own yogurt! You see, I’ve always liked yogurt but started eating it more in the past couple of years. I regularly eat it for breakfast with granola or as part of my lunch. Since I’ve mastered making homemade yogurt, here’s the effortlessly way for how to make vanilla yogurt in your crock pot.
When I started to feed Nathan solids, yogurt was one of those foods that he loved. However, I quickly realized how expensive yogurt has become. I also realized that many of the yogurts have lots of artificial ingredients in them. I don’t have a problem with some processed foods but this got me thinking.
In my quest to being more frugal, I’m always looking for simple ways to save our family money! I’m a firm believer that the little things add up to big savings.
As one of those little things, I had started buying the large tubs of yogurt and dividing it into containers myself. It is much more cost efficient than buying the individual containers but it still wasn’t cheap. The regular price for a quart of yogurt is now $3. I had heard of people making their own yogurt and decided to give it a try. Guess what? I’m hooked.
Homemade yogurt is simple, delicious and so much cheaper! When I get my milk on sale, I can now much 4 quarts of homemade yogurt for under the price of $3. (Yes, I can easily get a gallon of milk for under $3 in the wonderful state of Indiana.) Plus, I know that my homemade yogurt is made of milk, sugar, vanilla and the live cultures. That’s it! No artificial ingredients in this homemade yogurt.

You may be in disbelief but give it a try. It takes some time but the effort and supplies involved couldn’t be simpler. I read dozen of recipes and combined a couple of them to come up with this recipe. The main reason being that I wanted vanilla yogurt and almost all the recipes I found were for plain yogurt. Also, I didn’t want to mess with a thermometer if I didn’t have to so this is how to make vanilla yogurt from plain yogurt.
With this slow cooker method, homemade yogurt in a crockpot is truly a make it and forget it recipe. This is my homemade yogurt recipe.
This post may contain affiliate links. As an Amazon Associate, I earn from qualifying purchases. You can read more in my disclosure policy.
Vanilla Yogurt Ingredients:
1/2 gallon milk (I used 2%. Most recommend whole milk for thicker yogurt but 2% works fine.)
1/2 cup yogurt starter (Any yogurt with live cultures works. I’d recommend plain or vanilla. Once you make your first batch, simply save 1/2 cup of the yogurt to use as starter for your next batch.)
1/2 cup sugar (I’ve read that honey works too. I stick with a simple sugar. You can add more or less to taste. This amount was just about perfect for us.)
1 tablespoon pure vanilla extract (I use my pure Mexican vanilla which I love! We buy ours at El Mercado in San Antonio but you can Cheesecloth and colander (Optional and explained below.)
Directions for How to Make Vanilla Yogurt:
Pour 1/2 gallon of milk into your crock pot and turn it on low. Let it sit for 2 hours and 45 minutes. Set a timer and walk away from the crock pot at this point.
When the timer dings, turn the crock pot off and unplug it. Whisk in sugar and vanilla. Let the yogurt sit for 3 hours. Again, set your timer and resume your regular activities.
After the 3 hours are up, spoon 1 cup of the milk into a small mixing bowl. Whisk in your yogurt starter. Add this mixture back to the crock pot and whisk it all together.
Put the lid back on the crock pot and wrap the entire crock pot in one or two beach towels. I wrap one around the outside and cover the top with another towel. The reason being is that it allows the temperature of your yogurt to slowly cool and culture.
Let your wrapped crock pot sit for 8 to 12 hours while the yogurt cultures. The longer the yogurt cultures, the tangier the taste. 8 to 9 hours is what I generally do.
When you unwrap your crock pot, you will now have yogurt! See how simple?
The yogurt is delicious but my yogurt turned out slightly thinner than store bought yogurt. It tasted fine and can be eaten as is. Simply spoon into jars and store your homemade yogurt in the fridge. If you prefer, you can add one more step as I now do to thicken the yogurt.
After the 8 hours are up, I line my colander with 2 or 3 squares of cheesecloth . I place the colander on top of a metal bowl and pour all my yogurt into the cheese-lined colander. I carefully place the bowl in the refrigerator for a couple hours. After trial and error, I believe 3 hours is the right length of time for this straining. You can check the thickness of your yogurt by stirring it. Whenever you think it is ready, scoop the yogurt out of the colander and put it in glass jars or storage containers.
The cheesecloth step is not necessary and a matter of preference. It will reduce the amount of yogurt you get from your milk but I think it nice to have a slightly thicker yogurt. When you lift the colander out from the metal bowl, you will notice a clear, yellow liquid. This is whey. You can save your whey in the refrigerator for up to 6 months. Whey can be used in place of buttermilk in recipes. That is next on my list of projects, once I collect enough whey.
Additional Notes:
I think vanilla yogurt is the perfect flavor for the addition of fruit or granola. If you don’t want vanilla yogurt, simply omit the sugar and vanilla in this recipe to make plain yogurt.
1/2 gallon is 8 cups. If you don’t strain the yogurt, you will end up with 8 cups of yogurt. When I am done straining it, I end up with around 4 cups of yogurt. If you strain out too much whey and the yogurt is too thick for your liking, it is easy to stir some whey back in to make your yogurt thinner.
I found my cheesecloth at Meijer. You can also buy it on Amazon here. I have heard that coffee filters work too. Since I plan to continue making my own yogurt, I spent the couple dollars and invested in cheesecloth. This is a similar model to the slow cooker I use, for those who are curious.
Due to the amount of time it takes, I have decided it is best to start the yogurt 6 hours before I want to go to bed. I put the yogurt into my slow cooker around 4pm so that it can culture overnight. Then, first thing in the morning, I put the yogurt into cheesecloth to strain and my yogurt is ready for a late breakfast.
If you find a good deal on milk, remember that milk freezes really well so you could buy your milk and freeze it until you are ready to make yogurt. There are so many foods you can freeze, like milk! Just pour a little bit of milk out before freezing so the jug can expand. I buy a whole gallon of 2% milk to make yogurt. I use half of the milk to make yogurt and freeze the other half until I’m ready to make another batch.
I have read that you can easily double this recipe but I have not tried that yet. Please let me know if and when you do! I hope this answers many of the questions you might have. If you have others, ask them in the comments below and I’ll do my best to answer them. It might seem intimidating but if you eat a lot of yogurt and are looking to save money, give this a try!
What do you think? Will you try making your own yogurt?
If you’re interested in making homemade vanilla Greek yogurt in your slow cooker, check out this blog post that shows how to adapt this recipe. It’s still simple but just takes a bit longer.
Want more easy & delicious recipes?
Sign up for our newsletter & get your free recipe book!
How to Make Vanilla Yogurt in Your Crock Pot
Once you try this recipe for making homemade yogurt in your slow cooker, you’ll be amazed at simple and delicious it is.
Ingredients
- 1/2 gallon milk
- 1/2 cup yogurt starter
- 1/2 cup sugar
- 1 tablespoon pure vanilla extract
- Cheesecloth and colander (Optional)
Instructions
- Pour 1/2 gallon of milk into crock pot and turn it on low. Let it sit for 2 hours and 45 minutes. Set a timer and walk away from the crock pot at this point.
- When the timer dings, turn the crock pot off and unplug it. Whisk in sugar and vanilla. Let the yogurt sit for 3 hours. Again, set your timer and resume your regular activities.
- After the 3 hours are up, spoon 1 cup of the milk into a small mixing bowl. Whisk in your yogurt starter. Add this mixture back to the crock pot and whisk it all together.
- Put the lid back on the crock pot and wrap the entire crock pot in one or two beach towels. I wrap one around the outside and cover the top with another towel. (The reason being is that it allows the temperature of your yogurt to slowly cool and culture.)
- Let your wrapped crock pot sit for 8 to 12 hours while the yogurt cultures. The longer the yogurt cultures, the tangier the taste.
- After the 8 hours are up, enjoy your yogurt – or strain for a thicker yogurt. If you want it thicker, line a colander with 2 or 3 squares of cheesecloth. Place the colander on top of a metal bowl and pour the yogurt into the cheese-lined colander. Carefully place the bowl in the refrigerator for a couple hours. After trial and error, I believe 3 hours is the right length of time for this straining. You can check the thickness of your yogurt by stirring it. Whenever you think it is ready, scoop the yogurt out of the colander and put it in glass jars or storage containers.
- Enjoy your delicious yogurt…saving a half a cup for the starter in your next batch!
Nutrition
- Serving Size: 1


Will this work with whole Lactose free milk?
Hmmm. I don’t know as I have never tried it! If you decide to try it, do let me know how it turns out!
I definitely want to try this recipe. Is a 4 quart crockpot large enough? I also have a 6 quart. Do the glass jars need to be sterilized?
You could probably make it just fine with a 4 quart – as long as your milk fits! It won’t increase it size as your milk cooks. I generally use a 6 qt. And no, the jars don’t need to be sterilized, since you are not canning it. Enjoy the yogurt!
Just made this and it was extremely simple and the kids love it. So definitely will be making it again!
Turned out perfect! I used Walmart brand vanilla yogurt starter and whole milk
I use this recipe often! Perfect every time!
Love this recipe but my yogurt comes out gritty most of the time. I don’t strain it because I want as much yogurt as I can possibly get. Any suggestions? (BTW, I usually use 3.25 % milk and a high milk fat yogurt starter both of which are usually marked at a discount)
Hmmm. I don’t know! That is odd. I would suggest trying a different milk next time and see if that helps.
This happened to me too! I’m not sure what to do with the gritty. I used raw milk so very high fat too! I wonder if I blend it?
My 4 kids (and I) love this recipe! I make it 1-2x per week because it goes very quickly in our family:) Thank you so much, I really love your website.
Yay, Robyn! I am so glad you love it!
The best yogurt recipe!! Love it!
Hi, what did you use the first time for yogurt starter? Thanks, I can’t wait to try it.
The first time, I used a store bought yogurt with active cultures. Any plain or vanilla yogurt with active cultures will work just fine as your starter!
This recipe is fantastic!!! I’ve made it twice now and my kids love it!
This is so easy to make and the yogurt is fantastic! I used whole milk and when the yogurt was done, I
popped the entire slow-cooker crock into the refrigerator to cool for a few hours and then “poured” off the little bit of whey that pooled on the top of the yogurt. Then I spooned the yogurt into 1 cup containers for upcoming work lunches; half of the containers got a dollop of jam on the bottom before adding the yogurt for a “fruit at the bottom” type yogurt and the other half got a squeeze of honey on the top before adding the lid. Wow. Thank you so much for this fantastic recipe!
Made a double recipe because our kids love yogurt . They were all shocked at how good it tasted , better than what we buy at the store ! For what I paid to make this – I got 3 and 1/2 containers (32 oz) and at the store I would have only got 2 containers (32 oz) worth it for me and our family !!
Incredibly easy!
I have doubled this recipe, using 1 full gallon of skim milk and 1/2 c Pyure Stevia Blend Sweetener and vanilla. I strain it to make Greek yogurt and it’s so delicious and low calorie!
My grandchildren drink lots of “drinkable yogurt” in containers from the store. This would be so much cheaper to make for them
since you said it is thin… it should be a perfect substitute.! My husband loves Davinci or Torani coffee syrups and I have a whole line of them for him to use. With squirt pumps like the coffee shop has!! I am guessing that the grandkids will love squirting different flavors into their yogurt which I will put into lots of old glass frappachino bottles I have saved over the years. Can’t watch to try this recipe! PS I make cashew milk and use a nut bag I got on Amazon to strain it. It strains well and is much easier to wash than others I have used. Wonder if it will work to strain the yogurt so I can have thicker Greek yogurt for me? I don’t know how to do links but the name of the nut bag I love is Ellie’s Best Bigger Better Nut Milk Bag from Amazon. Out performs others I have used! Easier than cheesecloth. I am going to try the Pyure recipe suggested by Annette for myself. Thanks for the recipe and comments!
So many great ideas here, Connie! Thanks for sharing!
Tastes delicious & oh, so easy!
Really good recipe – it works! Produces the most ‘pure’ tasting yogurt I’ve ever had! One more chemically laden food to take off my grocery list!