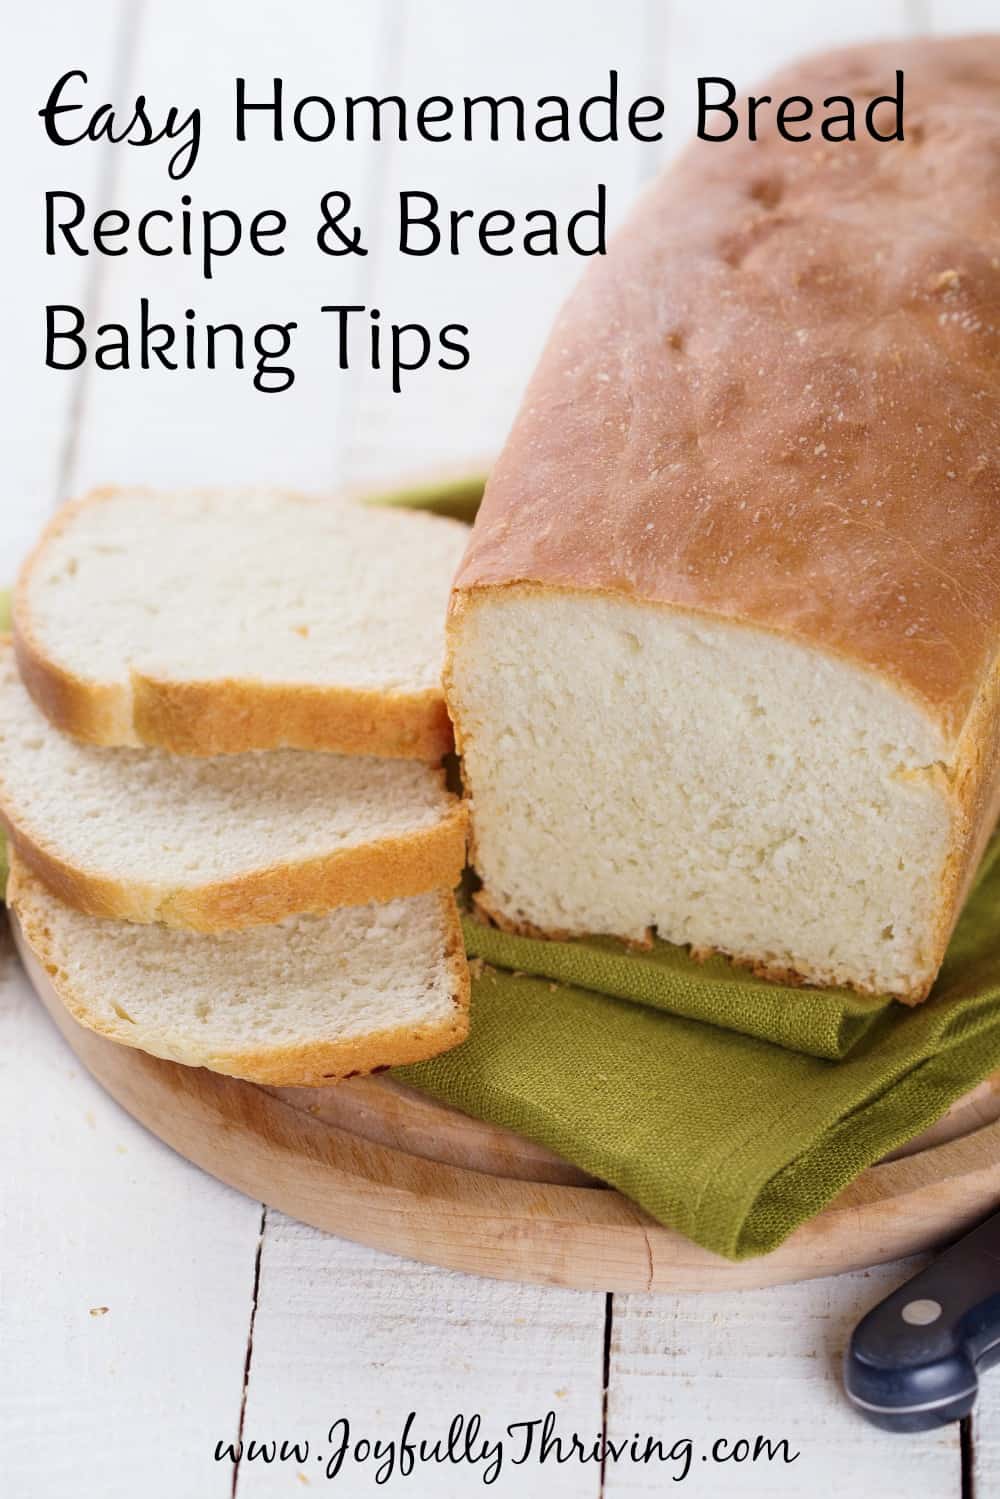
Homemade Bread Recipe & Tips
This year, I decided to make our bread instead of buying it from the store. I enjoy baking and have made bread occasionally in the past, but made the switch to regular bread baking this year. The main reason? When I looked at the cost comparison, I realized it cost me less than $0.50 per loaf of homemade bread – and that is with buying full price ingredients instead of stocking up on sales like I do! Plus, there are no artificial ingredients or excess sugars in homemade bread, and it tastes so much better!
Once I made the decision, I stuck with it. I have yet to buy a loaf of store bought bread in 2015. I think it’s safe to say that for this season of life, I’m now committed to baking our bread. As I’ve spent the past months baking our bread, I’ve refined my process and learned a couple things that I want to share with all of you who are interested in baking your own bread.
This post may contain affiliate links. As an Amazon Associate, I earn from qualifying purchases. You can read more in my disclosure policy.
Please know that baking bread is not difficult. If you are scared about the process, don’t be! It takes a bit of time but even the time is minimal – especially if you have a Kitchen Aid Mixer and dough hook that can do the kneading for you. Just try baking bread. It gets easier every time!
If you’re interested in baking bread for your family, give my easy homemade bread recipe a try. And whether you are a new or experienced bread baker, be sure to read all the tips below for additional help.
I use the basic, classic white bread recipe from the old red Betty Crocker cookbook. It’s a simple recipe that even a beginner baker can make. Plus, it tastes delicious – no matter how you eat it. This homemade bread recipe makes for great toast or sandwich bread.
Ingredients:
6 to 7 cups all-purpose flour
3 tablespoons sugar
1 tablespoon salt
2 tablespoons shortening
2 packages regular or quick active dry yeast (4 1/2 teaspoons)
2 1/4 cups very warm water (120 to 130 degrees)
Directions:
Mix 3 1/2 cups of the flour, sugar, salt, shortening and yeast in large bowl. Add warm water. Beat with electric mixer until all is combined. (Use dough hook attachment if you have one.) Stir in enough remaining flour, 1 cup at a time, to make dough easy to handle. Remember that less is more when it comes to flour and bread baking!
If you have a dough hook, allow your mixer to knead your bread for a couple minutes or until the dough is smooth and springy to touch.
If you do not have a dough hook, remove the dough from the mixer and place on a lightly floured surface. Knead for about 5 minutes or until dough is smooth and springy.
Place dough in large bowl greased with shortening, turning dough to grease all sides. Cover bowl loosely with plastic wrap or a thin kitchen towel. Let dough rise in a warm place 40 to 60 minutes or until double. I let my dough rise in a warm oven (using the hint below) for about 45 minutes until it has doubled. Dough is ready if indentation remains when touched.
Grease bottom and sides of 2 loaf pans, 8.5 by 4.5 or 9 by 5 size, with shortening. I recommend using non-stick loaf pans (again, see note below) and skipping this step.
Gently push fist into dough to deflate. Divide dough in half. Flatten each half with hands into a 9 by 12 inch rectangle on a lightly floured surface. Roll dough up rightly, beginning at 9 inch side. Pinch edge of dough into roll to seal. Press each end with side of hand to seal. Fold ends under loaf.
Place seam side of loaf down in bread pan. Brush loaves lightly with butter. (Optional, and I usually skip this step.) Cover loosely with plastic wrap or light towel and let rise in warm place 35 to 50 minutes or until double.
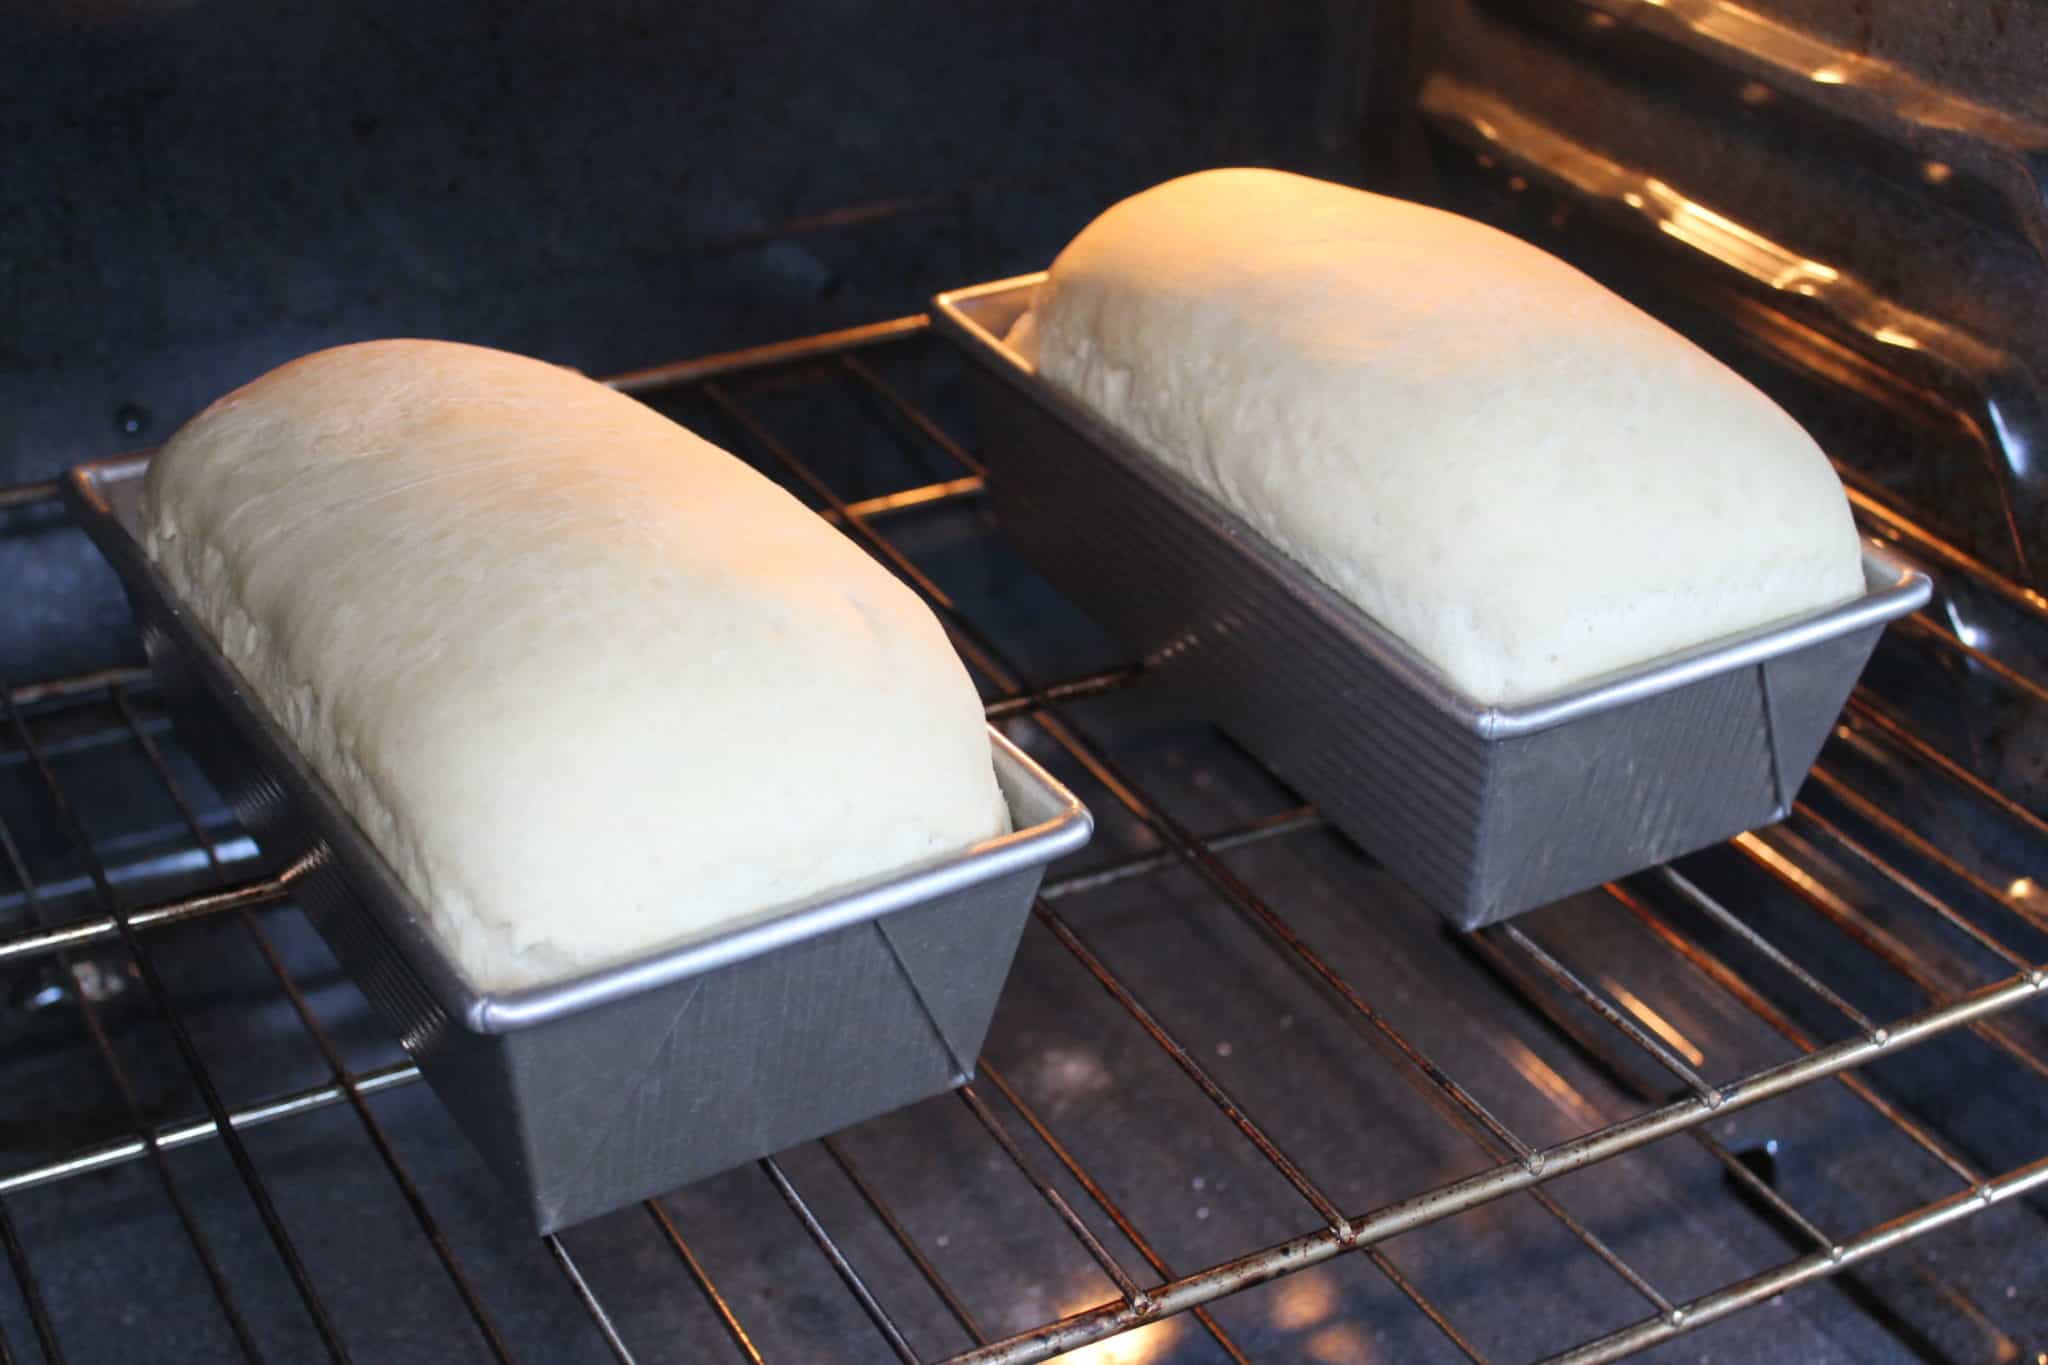
When your bread has doubled and risen above the pan (as shown above), remove your plastic wrap or towel. Leave the bread in the oven and preheat oven to 425 degrees. Bake your bread for 20 minutes, setting timer from the time you start to preheat the oven. Loaves are done baking when they are a deep golden brown and sound hollow when tapped. Remove bread from pans to cool on wire rack. Brush loaves with butter, if so desired.
Additional Bread Baking Tips:
Here are five additional bread baking tips that will help ensure your bread turns out. It’s true that the humidity of the day affects your bread and that is an uncontrollable fact. There are certain elements you can control with these following tips.
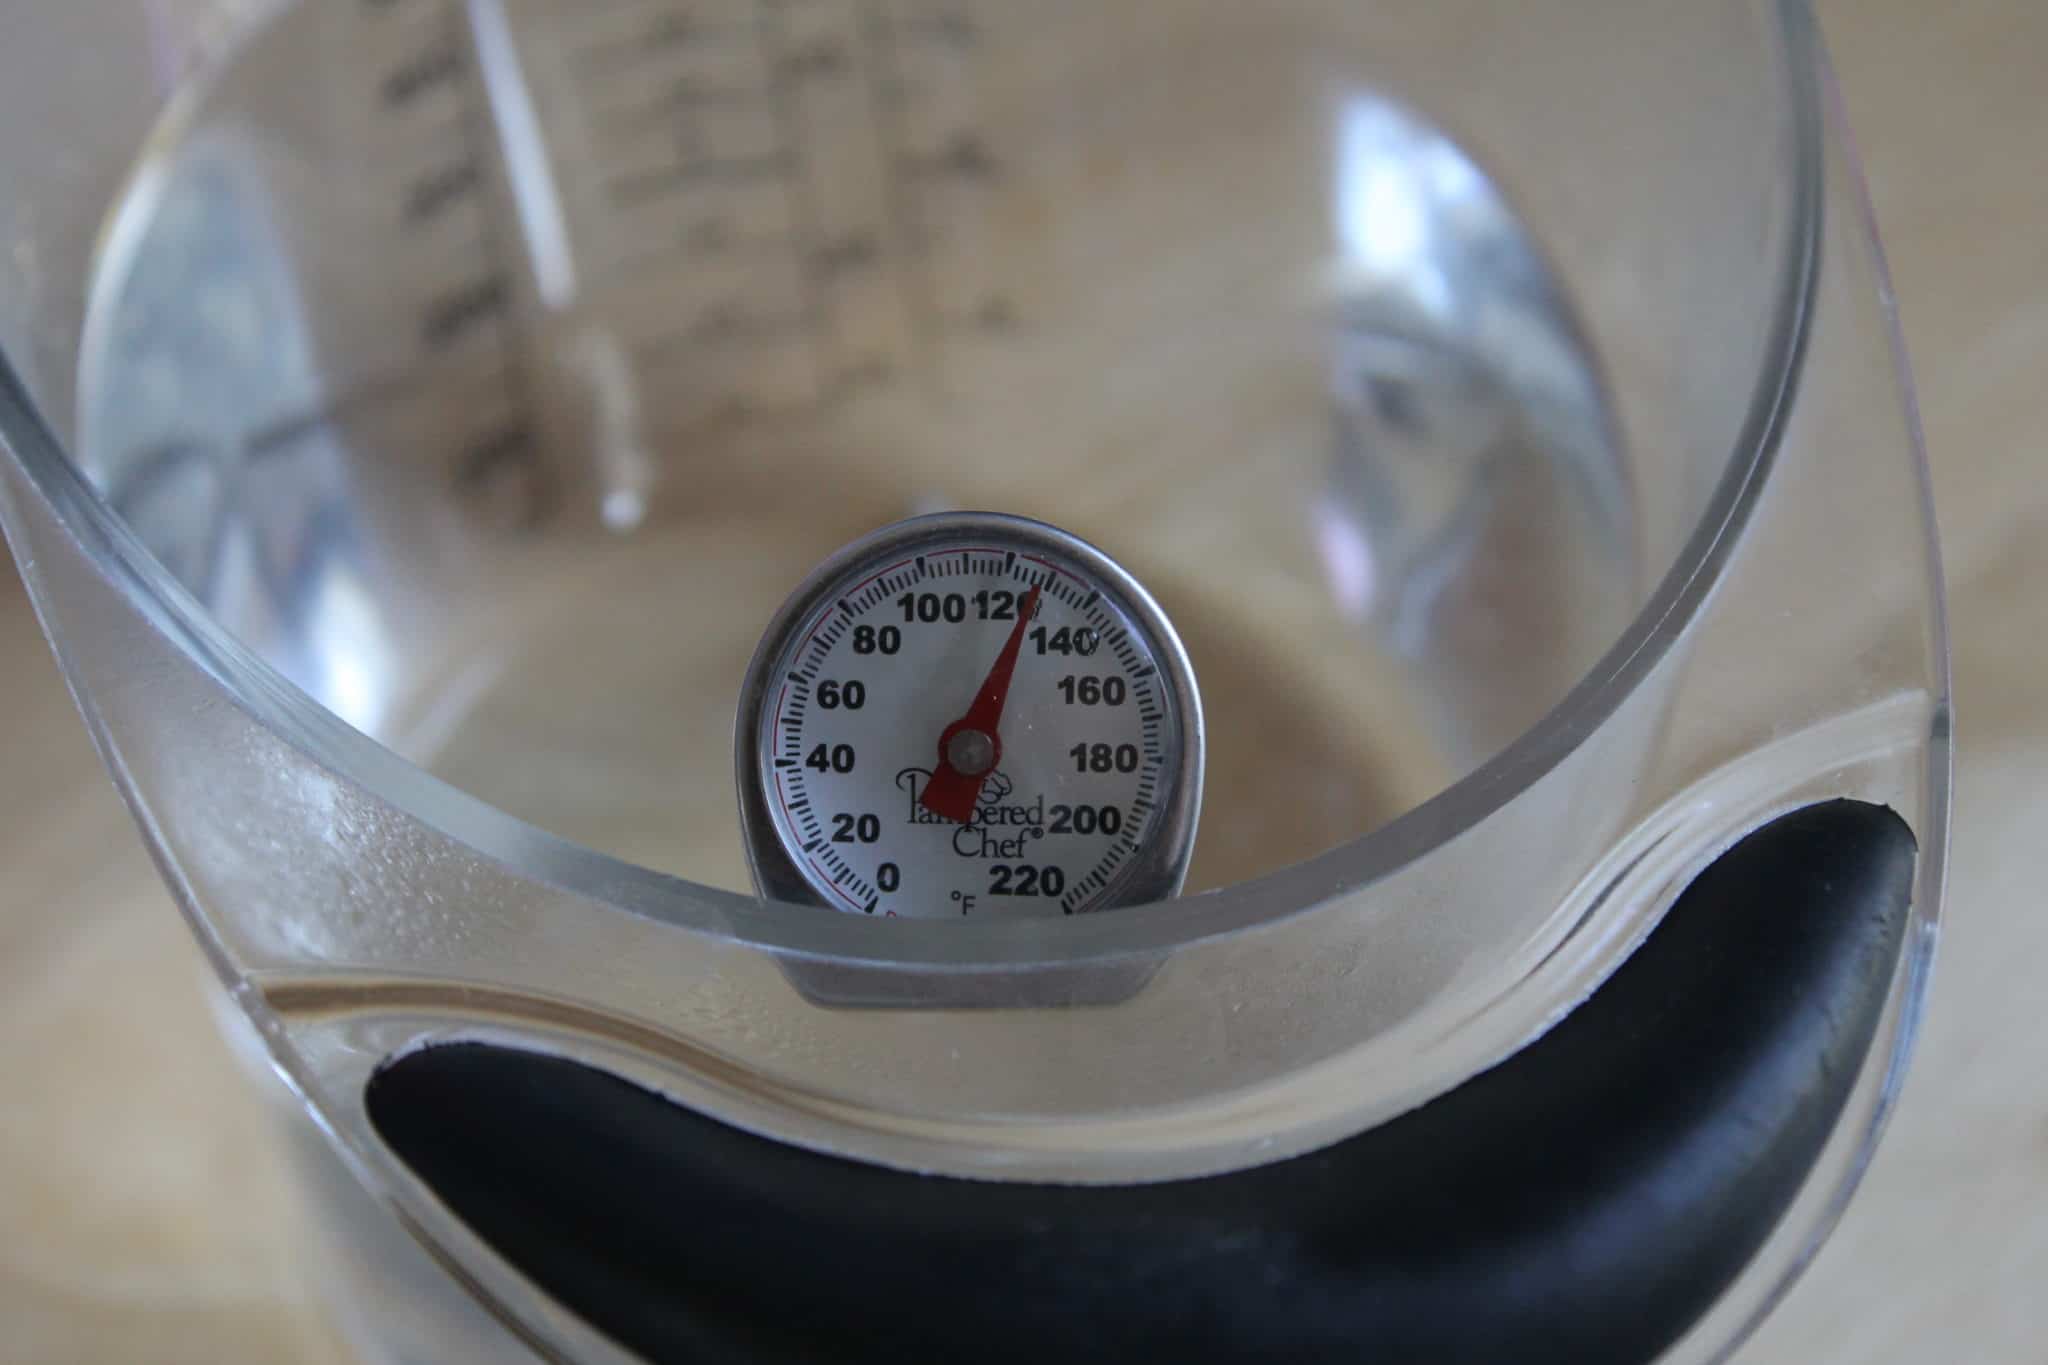
Use a thermometer to check your hot water temperature. It’s so simple but the temperature of your water really does make a difference. You don’t want to scald your yeast but you need the water hot enough to react with your yeast. I bought a food thermometer from Pampered Chef this year and now check my water every time. Your warm water should be between 120 and 130 degrees. If you’re looking for a food thermometer, you can buy them almost anywhere for relatively inexpensive but here’s one on Amazon that appears very similar to mine.
Add wheat gluten to your bread. My mom gave me wheat gluten this past year to try and it has made a big difference in how well my bread rises! With wheat gluten (sometimes called vital wheat gluten), you can use all-purpose flour because there is no need to buy a specialty bread flour. The addition of wheat gluten helps make your bread fluffier, too. Truly, I’ve been amazed at what a difference this has made in my bread. I add 1 tablespoon of wheat gluten per loaf of homemade bead. I store a jar of gluten in my fridge and freeze the rest until I’m ready to use it. I buy my wheat gluten at my local Amish store but I have seen it for sale at Meijer near the specialty flours. You can also buy it on Amazon, like the Bob’s Red Mill Vital Wheat Gluten sold here.
To get a perfect warm oven for your bread to rise, put your bread in the oven and turn on your “Warm” setting for 5 minutes. Turn it off and let your bread rise for 45 minutes. I get a doubled rise just like that. I think I read this trick from Kalyn of Creative Savings. I had always struggled with getting my oven the correct temperature for a good rise. This 5 minute rule of thumb has ended that problem!
Use good bread pans. Yes, you can bake bread with any pan but if you are committed to bread baking, invest in a quality bread pan or two. I recommend a non-stick pan so you don’t have to grease your bread pans. If you’re looking for a good bread pan, my mother-in-law gave me these USA loaf bread pans for Christmas and I absolutely love them! These bread pans are unique in that they have corrugated design to help your bread bake evenly. I have been very impressed with these pans and would highly recommend them.
Save yourself time and bake more than one loaf of bread at a time. I bake 2 loaves of bread at a time, as we currently average 1 loaf of bread a week. I bake one loaf and freeze the other. Bread freezes very well! I wrap the entire loaf in foil and freeze it whole to keep it fresh. For those of you with larger families, this endeavor will require more bread. My Grandma Barz still makes 7 to 9 loaves on her bread baking day and freezes many of those loaves. She’s been baking bread for her family (of 9!) since the 1960s so I consider her an expert bread baker.
Whew! There you have it. There is the why and how I make bread. I hope this is helpful to you! If you have more questions about baking bread, please feel free to ask in the comments and I will do my best to help you. If you have other advice for bread bakers, please share that in the comments as well!
Want more easy & delicious recipes?
Sign up for our newsletter & get your free recipe book!
Homemade Bread Recipe & Tips
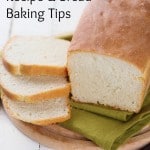
Homemade bread costs less than 50 cents a loaf and tastes better than any store bought bread. Try this step-by-step recipe for how to make your own bread.
Ingredients
- 6 to 7 cups all-purpose flour
- 3 tablespoons sugar
- 1 tablespoon salt
- 2 tablespoons shortening
- 2 packages (4 1/2 teaspoons) regular or quick active dry yeast
- 2 1/4 cups very warm water (120 to 130 degrees)
- 2 tablespoons gluten (optional)
Instructions
- Mix 3 1/2 cups of the flour, sugar, salt, shortening and yeast in large bowl. Add warm water. Beat with electric mixer until all is combined. (Use dough hook attachment if you have one.)
- Stir in enough remaining flour, 1 cup at a time, to make dough easy to handle. Remember that less is more when it comes to flour and bread baking!
- If you have a dough hook, allow your mixer to knead your bread for a couple minutes or until the dough is smooth and springy to touch. If you do not have a dough hook, remove the dough from the mixer and place on a lightly floured surface. Knead for about 5 minutes or until dough is smooth and springy.
- Place dough in large bowl greased with shortening, turning dough to grease all sides. Cover bowl loosely with plastic wrap or a thin kitchen towel. Let dough rise in a warm place 40 to 60 minutes or until double. Dough is ready if indentation remains when touched.
- Grease bottom and sides of 2 loaf pans, 8.5 by 4.5 or 9 by 5 size, with shortening. I recommend using non-stick loaf pans and skipping this step.
- Gently push fist into dough to deflate. Divide dough in half.
- Flatten each half with hands into a 9 by 12 inch rectangle on a lightly floured surface. Roll dough up rightly, beginning at 9 inch side. Pinch edge of dough into roll to seal. Press each end with side of hand to seal. Fold ends under loaf.
- Place seam side of loaf down in bread pan. Brush loaves lightly with butter. (Optional, and I usually skip this step.) Cover loosely with plastic wrap or light towel and let rise in warm place 35 to 50 minutes or until double.
- When your bread has doubled and risen above the pan, remove plastic wrap or towel. Leave the bead in the oven and preheat oven to 425 degrees. Bake your bread for 20 minutes, setting timer from the time you start to preheat the oven.
- Loaves are done baking when they are a deep golden brown and sound hollow when tapped. Remove bread from pans to cool on wire wrap. Brush loaves with butter, if so desired.


My goodness girl,, this is the most informative recipe with tips I have ever read..I love how you tell all your tips and secrets about your own experiences. I am getting my new bread machine tomorrow so you know what I’m going to be doing ..Thank you for all your tips ..
Could this recipe be easy to use with gluten free flour?
I have not tried it with gluten free flour, and imagine you might have to tweak it a bit, but you’ll never know if it works until you try! 🙂
I made this bread today, first bread I ever made. It so DELICIOUS!! I only have a small hand mixer so I made ‘do’. I followed the recipe exactly, including rising the dough in the oven.
I will definitely use this recipe again. Thinking about giving homemade bread to my neighbors for Christmas!
Oh, Barbara, I’m so glad to hear you liked the bread recipe! It is really very simple and results in delicious homemade bread. I’m sure your neighbors would love a gift of homemade bread. So thoughtful! Happy bread baking!
My family loved this recipe! Thanks for sharing!!
I’m so glad, Mary! It really is a simple and delicious bread recipe. Here’s to many more happy bread baking days!
Oh my goodness, Kristen…this bread is SO GOOD! Just took it out of the oven a few hours ago, and it is so fluffy and delicious! That wheat gluten did wonders…can’t wait to try it with my other bread recipes.
Oh, good, Kristin! I’m so glad to hear it! I was just as amazed when I first added wheat gluten. I add it to all my bread recipes now. It really is amazing! I hope you all enjoy the bread!
I don’t know why I torture myself by reading food posts when I’m hungry. Warm homemade bread sounds so good right now! I’ve only made bread once, and made a few mistakes along the way. Thanks for sharing your tips. I will put them to good use!
I do the same thing, Tiffany! Homemade bread really isn’t that hard. I hope these tips help you. It’s my favorite treat!
I am so glad you shared your bread recipe and tips! It is something I have been wanting to do. We have been going through bread like crazy lately. Baking bread always seemed a little intimidating to me, but I’m going to give it a try!
You’re welcome, Emily. Give it a try! It’s not as intimidating as it seems. And each time I bake bread, it gets even easier. Let me know how it turns out or if you have any questions.
So interesting that you figured out what it costs you to make your own bread. I’ve always thought that I should, but never took the time. I’m guessing my cost might be slightly higher than yours only because I use honey instead of sugar and also use whole wheat flour instead of white. But I bet mine still comes under $0.75 a loaf- and that’s pretty good for wholesome homemade bread that has only real ingredients in it!
And yes, I second the fact that wheat gluten makes a huge difference! I never noticed affecting the bread rising, but it definitely has made a big difference in how soft and flexible my homemade bread is. It’s actually amazing at how much nicer my bread is since using it!
It was interesting to see the costs. Even though your costs are slightly higher, it is still amazing for wholesome, quality, homemade bread. I’m glad I’m not the only one who’s discovered what a difference gluten makes. And you’re right, Lydia, it’s the softness and flexibility that I love with gluten. Now that I’ve started using it, I won’t go back, especially since I get buy it for $3.49/lb at my local Amish bulk food store.
Wow! That’s crazy how cheap it is to make at home. I had a pretty disasterous encounter with bread-making in the early days of our marriage so I decided to pass, but you have me wanting to bake bread!
Give another try, Kate! Maybe it will go better this time! 🙂 This recipe really is pretty simple – and it’s so delicious. And, as you already noted, it’s so much cheaper!
I use a thermometer if I’m making my bread with active dry yeast, but when I use instant yeast, I don’t need it. It can be activated at a lower temperature (I think 95?).
My sister swears by vital wheat gluten! I have some in my freezer, but I don’t use it. I have in the past, but with the recipe I use now for making bread it rises pretty well without it.
I completely agree that you should bake more than one loaf at a time. We go through bread so fast that I would have to make it once a day if I only made one loaf at a time. Plus, having two in the oven at once saves lots of electricity. I wish I had another oven and a larger stand mixer so I could make 4 loaves at a time!
I think I’ve bought bread about 3 times this year, because I found out the cost of our recipe was right around $0.50 a loaf. It’s amazing how much cheaper you can make some things at home! Great tips, Kristen!
Thanks, Charlee! I haven’t used instant yeast…or perhaps you mean quick rise? So far this year, I’ve been using active dry yeast, so the temperature has been important. My bread rises fine without the gluten but it really makes the bread a lot softener. And yes, making multiple bread loaves is a time saver. I’m glad I’m not alone in my love of baking bread!