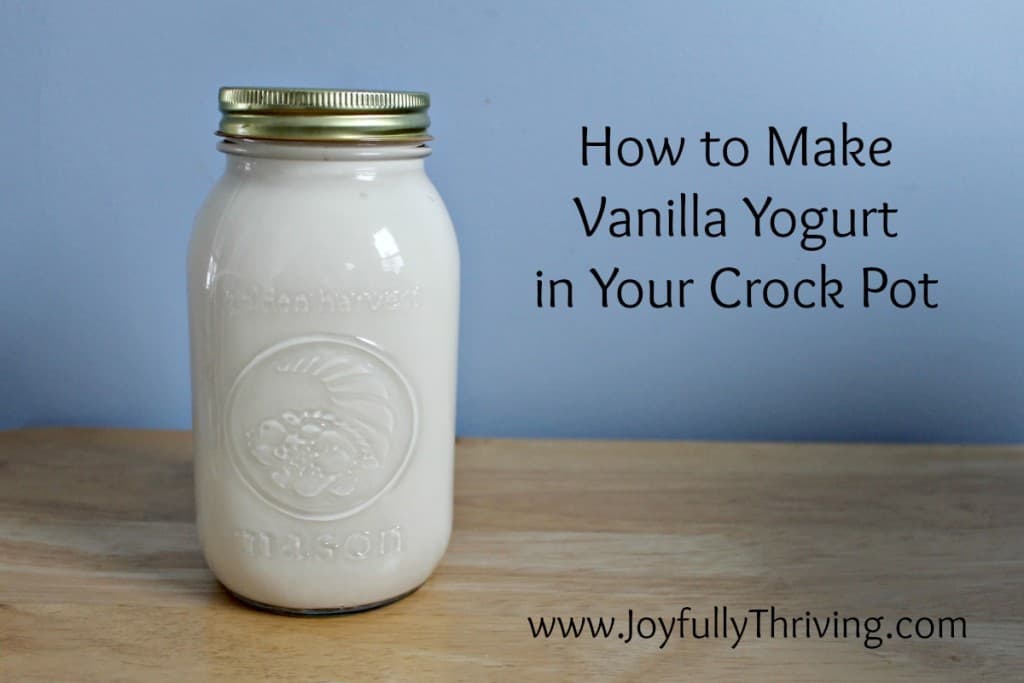
How to Make Vanilla Yogurt in a Crock Pot
Here is something I never imagined myself doing. I am now making my own yogurt! You see, I’ve always liked yogurt but started eating it more in the past couple of years. I regularly eat it for breakfast with granola or as part of my lunch. Since I’ve mastered making homemade yogurt, here’s the effortlessly way for how to make vanilla yogurt in your crock pot.
When I started to feed Nathan solids, yogurt was one of those foods that he loved. However, I quickly realized how expensive yogurt has become. I also realized that many of the yogurts have lots of artificial ingredients in them. I don’t have a problem with some processed foods but this got me thinking.
In my quest to being more frugal, I’m always looking for simple ways to save our family money! I’m a firm believer that the little things add up to big savings.
As one of those little things, I had started buying the large tubs of yogurt and dividing it into containers myself. It is much more cost efficient than buying the individual containers but it still wasn’t cheap. The regular price for a quart of yogurt is now $3. I had heard of people making their own yogurt and decided to give it a try. Guess what? I’m hooked.
Homemade yogurt is simple, delicious and so much cheaper! When I get my milk on sale, I can now much 4 quarts of homemade yogurt for under the price of $3. (Yes, I can easily get a gallon of milk for under $3 in the wonderful state of Indiana.) Plus, I know that my homemade yogurt is made of milk, sugar, vanilla and the live cultures. That’s it! No artificial ingredients in this homemade yogurt.

You may be in disbelief but give it a try. It takes some time but the effort and supplies involved couldn’t be simpler. I read dozen of recipes and combined a couple of them to come up with this recipe. The main reason being that I wanted vanilla yogurt and almost all the recipes I found were for plain yogurt. Also, I didn’t want to mess with a thermometer if I didn’t have to so this is how to make vanilla yogurt from plain yogurt.
With this slow cooker method, homemade yogurt in a crockpot is truly a make it and forget it recipe. This is my homemade yogurt recipe.
This post may contain affiliate links. As an Amazon Associate, I earn from qualifying purchases. You can read more in my disclosure policy.
Vanilla Yogurt Ingredients:
1/2 gallon milk (I used 2%. Most recommend whole milk for thicker yogurt but 2% works fine.)
1/2 cup yogurt starter (Any yogurt with live cultures works. I’d recommend plain or vanilla. Once you make your first batch, simply save 1/2 cup of the yogurt to use as starter for your next batch.)
1/2 cup sugar (I’ve read that honey works too. I stick with a simple sugar. You can add more or less to taste. This amount was just about perfect for us.)
1 tablespoon pure vanilla extract (I use my pure Mexican vanilla which I love! We buy ours at El Mercado in San Antonio but you can Cheesecloth and colander (Optional and explained below.)
Directions for How to Make Vanilla Yogurt:
Pour 1/2 gallon of milk into your crock pot and turn it on low. Let it sit for 2 hours and 45 minutes. Set a timer and walk away from the crock pot at this point.
When the timer dings, turn the crock pot off and unplug it. Whisk in sugar and vanilla. Let the yogurt sit for 3 hours. Again, set your timer and resume your regular activities.
After the 3 hours are up, spoon 1 cup of the milk into a small mixing bowl. Whisk in your yogurt starter. Add this mixture back to the crock pot and whisk it all together.
Put the lid back on the crock pot and wrap the entire crock pot in one or two beach towels. I wrap one around the outside and cover the top with another towel. The reason being is that it allows the temperature of your yogurt to slowly cool and culture.
Let your wrapped crock pot sit for 8 to 12 hours while the yogurt cultures. The longer the yogurt cultures, the tangier the taste. 8 to 9 hours is what I generally do.
When you unwrap your crock pot, you will now have yogurt! See how simple?
The yogurt is delicious but my yogurt turned out slightly thinner than store bought yogurt. It tasted fine and can be eaten as is. Simply spoon into jars and store your homemade yogurt in the fridge. If you prefer, you can add one more step as I now do to thicken the yogurt.
After the 8 hours are up, I line my colander with 2 or 3 squares of cheesecloth . I place the colander on top of a metal bowl and pour all my yogurt into the cheese-lined colander. I carefully place the bowl in the refrigerator for a couple hours. After trial and error, I believe 3 hours is the right length of time for this straining. You can check the thickness of your yogurt by stirring it. Whenever you think it is ready, scoop the yogurt out of the colander and put it in glass jars or storage containers.
The cheesecloth step is not necessary and a matter of preference. It will reduce the amount of yogurt you get from your milk but I think it nice to have a slightly thicker yogurt. When you lift the colander out from the metal bowl, you will notice a clear, yellow liquid. This is whey. You can save your whey in the refrigerator for up to 6 months. Whey can be used in place of buttermilk in recipes. That is next on my list of projects, once I collect enough whey.
Additional Notes:
I think vanilla yogurt is the perfect flavor for the addition of fruit or granola. If you don’t want vanilla yogurt, simply omit the sugar and vanilla in this recipe to make plain yogurt.
1/2 gallon is 8 cups. If you don’t strain the yogurt, you will end up with 8 cups of yogurt. When I am done straining it, I end up with around 4 cups of yogurt. If you strain out too much whey and the yogurt is too thick for your liking, it is easy to stir some whey back in to make your yogurt thinner.
I found my cheesecloth at Meijer. You can also buy it on Amazon here. I have heard that coffee filters work too. Since I plan to continue making my own yogurt, I spent the couple dollars and invested in cheesecloth. This is a similar model to the slow cooker I use, for those who are curious.
Due to the amount of time it takes, I have decided it is best to start the yogurt 6 hours before I want to go to bed. I put the yogurt into my slow cooker around 4pm so that it can culture overnight. Then, first thing in the morning, I put the yogurt into cheesecloth to strain and my yogurt is ready for a late breakfast.
If you find a good deal on milk, remember that milk freezes really well so you could buy your milk and freeze it until you are ready to make yogurt. There are so many foods you can freeze, like milk! Just pour a little bit of milk out before freezing so the jug can expand. I buy a whole gallon of 2% milk to make yogurt. I use half of the milk to make yogurt and freeze the other half until I’m ready to make another batch.
I have read that you can easily double this recipe but I have not tried that yet. Please let me know if and when you do! I hope this answers many of the questions you might have. If you have others, ask them in the comments below and I’ll do my best to answer them. It might seem intimidating but if you eat a lot of yogurt and are looking to save money, give this a try!
What do you think? Will you try making your own yogurt?
If you’re interested in making homemade vanilla Greek yogurt in your slow cooker, check out this blog post that shows how to adapt this recipe. It’s still simple but just takes a bit longer.
Want more easy & delicious recipes?
Sign up for our newsletter & get your free recipe book!
How to Make Vanilla Yogurt in Your Crock Pot
Once you try this recipe for making homemade yogurt in your slow cooker, you’ll be amazed at simple and delicious it is.
Ingredients
- 1/2 gallon milk
- 1/2 cup yogurt starter
- 1/2 cup sugar
- 1 tablespoon pure vanilla extract
- Cheesecloth and colander (Optional)
Instructions
- Pour 1/2 gallon of milk into crock pot and turn it on low. Let it sit for 2 hours and 45 minutes. Set a timer and walk away from the crock pot at this point.
- When the timer dings, turn the crock pot off and unplug it. Whisk in sugar and vanilla. Let the yogurt sit for 3 hours. Again, set your timer and resume your regular activities.
- After the 3 hours are up, spoon 1 cup of the milk into a small mixing bowl. Whisk in your yogurt starter. Add this mixture back to the crock pot and whisk it all together.
- Put the lid back on the crock pot and wrap the entire crock pot in one or two beach towels. I wrap one around the outside and cover the top with another towel. (The reason being is that it allows the temperature of your yogurt to slowly cool and culture.)
- Let your wrapped crock pot sit for 8 to 12 hours while the yogurt cultures. The longer the yogurt cultures, the tangier the taste.
- After the 8 hours are up, enjoy your yogurt – or strain for a thicker yogurt. If you want it thicker, line a colander with 2 or 3 squares of cheesecloth. Place the colander on top of a metal bowl and pour the yogurt into the cheese-lined colander. Carefully place the bowl in the refrigerator for a couple hours. After trial and error, I believe 3 hours is the right length of time for this straining. You can check the thickness of your yogurt by stirring it. Whenever you think it is ready, scoop the yogurt out of the colander and put it in glass jars or storage containers.
- Enjoy your delicious yogurt…saving a half a cup for the starter in your next batch!
Nutrition
- Serving Size: 1


Looks easy and am going to try it. My husband can not have sugar, can Stevia or other artificial sweetener be used?
I would guess so, Susan! I’ve seen yogurt recipes with honey, and Stevia should be an easy substitution. You may want to tweak the proportions to flavor it to your taste. You can even make the yogurt without any sweeteners – as it would be plain yogurt – and add any sweeteners afterwards. I hope you enjoy the recipe!
I will try this but I never put sugar or honey in yoghurt while it is ‘cooking’, sweeteners can be added afterwards in the form of fruits. Much healthier.
That’s certainly up to you, Wean! As for us, we’re not a fan of plain yogurt in our family – and half a cup of sugar in 8 cups of milk is very minimal, compared to store bought yogurt. I hope you enjoy the crock pot recipe!
I noticed the crock pot had cooled off after unplugging it…. Shouldn’t it be left on low while it cultures. Makes me nervous that it might go bad. I am trying so hard to take some weight off. I hope this will help
It does cool off, Dorothy, which is why you wrap the yogurt in a bath towel or two. You want to it to cool off slowly as it incubates. I read a lot on the subject before ever trying it myself, and have now made countless batches myself. It won’t go bad by cooling off slowly! Good luck with the weight loss, too!
Oops! The dummy in me didn’t read the directions right and let the milk sit for 3 hours with out putting the sugar and vanilla in :-/. I did that and then put my starter in, hope it turns out, or will try again tomorrow!
Oops. I’ve done that before, too! It should turn out…but your flavor just might not be as strong. And like you said, there’s always next time! 🙂
Yep, it still turned out and is yummy! Might try with a Greek yogurt as the starter next time to see if I can get it to thicken up 🙂
Yay, Alisa! I’ve learned that the thicker your milk, the thicker your yogurt. For example, whole milk makes a thicker yogurt than 1% and so on. Straining it with cheesecloth also makes it thicker too, and is really easy to do. Some others have told me that adding powdered milk helps the gourt thicken up , too. I’d love to hear what happens when you use Greek yogurt as a starter!
Yep, I did do the vitamin D already ha ha 🙂 Do you think letting it sit for longer would allow additional thickening? My almost 3 year old loved it, as did her shirt lol
Have you ever tried adding fruit of any kind? Just curious 🙂
Hi, Alisa! I have stirred in fruit, but I always do that after I make the vanilla yogurt. I consider it like the stir-in fruit on the bottom kind of yogurt. It’s really good with granola, too! I hope this helps!
Made it with powdered milk instead of normal, then did what Micah suggested with 1/2 a cup more when adding sugar and it worked wonderfully well! Lovely and thick…
Apparently it was a bit too tangy for a couple of our kids (Maybe I put too much vanilla in or left it a little too long?) but our 2 yr old, and then our 1 yr old triplets,and I, absolutely LOVED it!! They couldn’t get enough! 😀
Thanks for giving us the best and easiest of both recipes! You are a star! 😀
Happy Christmas! Noëlle x
I’m so excited you like my yogurt recipe, Noelle! And that’s great to know about the powdered milk! As for the tangy flavor, play around with how long you leave it sit. I’ve learned that less time sitting (even an hour or so) will yield a less tangy yogurt. Merry Christmas to you as well!
Great, I will try that tomorrow with my next batch, thanks! The first lot lasted 4 days! 2 litres is nowhere near enough for our family… I guess I will double up for this next try! 😀
This sounds awesome. Been trying to find a easy way to make vanilla yogurt. I’ve never been much of a yogurt eater but since I started my new job as a cashier I always have a carton of yogurt with granola on my first 15 minute break. It helps me last until my lunch break halfway through my shift. And I’ve been going through a lot of it rather quickly and hate to keep buying it. Now I just have to find a time when I can actually get it made up.
Thanks, Ashley! It really is a wonderful (and easy!) way to make delicious yogurt. With every batch, I’m continually amazed at how simple and frugal it is to make my own yogurt.
Hi Kristen! Your yogurt is thin because it doesn’t have enough protein. When you add the sugar and vanilla, try adding a half cup of dried milk. It makes a big difference!
Interesting. I might have to try that. Although, I like the savings I get by not paying to add extra dried milk. I’ve also found that if I make yogurt with whole milk, I don’t need to strain any whey off my yogurt, so that is what I’ve been doing lately. Thanks for the tip, Micah!
Makes sense. But a half-cup of dried milk is just a few cents, so in my mind it’s worth it. The whole milk is a good solution as well (we do both). Both of these approaches give the bacteria more food to eat, which in turn makes a thicker, richer yogurt.
Keep up the good work!
Cant wait to try this!! I love that a thermometer isn’t needed.
I hope you like it, Rachael! It really is amazingly simple. I didn’t believe it the first time I tried it, but now I’m hooked! 🙂
This may seem dumb, but does this type of yogurt freeze well. I have frozen store kinds before and they thaw out with a grainy texture.
It freezes, but all yogurt will thaw with a slightly grainy texture. I have frozen this yogurt in cubes for smoothies without a problem, but I don’t freeze yogurt just thaw and eat plain. I hope that helps, Elise!
I’m so glad I found this recipe! I’ve been very disappointed in the selection of good yogurt without all the sugar and additives lately so I can’t wait to try making it myself. I may have missed something, but when you wrap the crock pot in towels do you turn it off? And do you leave it out while it cools or refrigerate it? I just wanted to be sure it was safe to leave it out while it cools.
Hi, Missy! Yes, the crock pot is already unplugged and cooling when you wrap it in towels. It is actually only plugged in for the first couple hours, and then cools slowly to culture. It is perfectly safe to leave it out while cooling for the 8 to 12 hours required. I hope you enjoy making – and eating – homemade yogurt!
This sounds amazing! Would Greek yogurt work for a starter? It is what I have on hand.
As long as it has active cultures in it, I believe it would work fine!
Thanks! I am going to use lactose-free everything and see how it turns out. That stuff is so expensive! Thanks for the post.
Good luck, Ruschelle!
I’m excited to try this tomorrow. I just bought a gallon of discounted whole milk for under $1.50 since it’s almost expired. I’ve tried making plain before but never strained it and it was always just a little to thin. I think with some flavor and straining my family will devour it.
Have you tried doubling the recipe yet? I’m not sure if I should double it or just do the half gallon worth to start.
Hi, Alisha! Good questions. I would start with half a gallon and freeze the rest of the milk…or just wait another day and make the second batch (since you can use starter from the first batch you make for any and all future batches.) I haven’t tried doubling because I’ve read that it can mess with the cultures. Since you’re using whole milk, you might not need to strain it. I’ve been using whole milk lately and it’s a great thickness. Now, 2% or less and I do strain it with cheesecloth. I hope this helps! Let me know how your family likes it!
This is awesome. I have had this page bookmarked on my feedly for q few days to try this out! I’ve made yogurt before but it was on the stove. This seems so easy.
It really is amazing easy, Vera. I was shocked – and pleased – with how simple it is. I just made another batch yesterday in fact. It seems to be a staple now that I’ve discovered this method. I hope you enjoy it!
Vanilla for me too! I haven’t bought yogurt in a very long time because it is so pricey and it felt like an “extra”. But making it might be what I need to try instead! Do you know how long the yogurt is suppose to last before it goes bad?
I completely understand, Emily, but with this method, now you can make it! 🙂 From all I read (and I read a lot before I attempted this!), the yogurt should last around 2 weeks in your fridge. Nathan and I have managed to eat it all before we’ve hit that point. I do know that at 1.5 weeks, the last bits of my yogurt is still good.
Looking for a vanilla yogurt recipe and this one looks great. Can’t wait to try it. I make plain yogurt all the time and always double the recipe, so I would think you would be able to double this one. I use the plain yogurt for everything. It’s a great starter for marinade for chicken. Even use it in place of sour cream. Now I cant wait to make ricotta cheese! My experience is that this lasts 2 to 3 weeks in the frig.
I can’t wait to try this recipe! I made yogurt a couple years ago but it was plain and I like vanilla. I use my leftover whey from cheese to make pizza crusts.
Great idea, Julie, on using whey for pizza crusts! I really was amazed at how simple and delicious it was to make my own yogurt. I much prefer vanilla over plain. I hope you enjoy this recipe, too!